앞으로 나오는 CSS 카테고리의 내용은 FREELEC 서블릿 & JSP 웹프로그래밍 교재를 참고하여 영리의 목적이 아닌 본인의 공부를 목적으로 작성됨을 참조하시기 바랍니다.
html
- 문서를 구조화 : 메모장과 유사하게 문서내용을 정리(논문형식)
<br />
<iframe>
- 웹프로그램 입력양식
<form>
...
<select>
- html api + javascript
* 영화 : 매트릭스, 마이너리티 리포트, 레디 플레이어 원
CSS
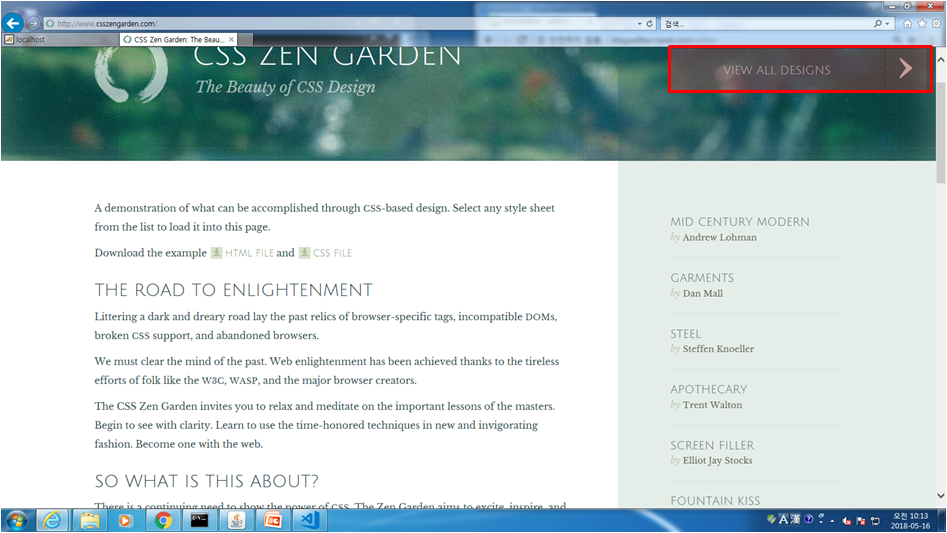
- www.csszengarden.com
CSS Zen Garden: The Beauty of CSS Design
So What is This About? There is a continuing need to show the power of CSS . The Zen Garden aims to excite, inspire, and encourage participation. To begin, view some of the existing designs in the list. Clicking on any one will load the style sheet into this very page. The HTML remains the same, the
www.csszengarden.com
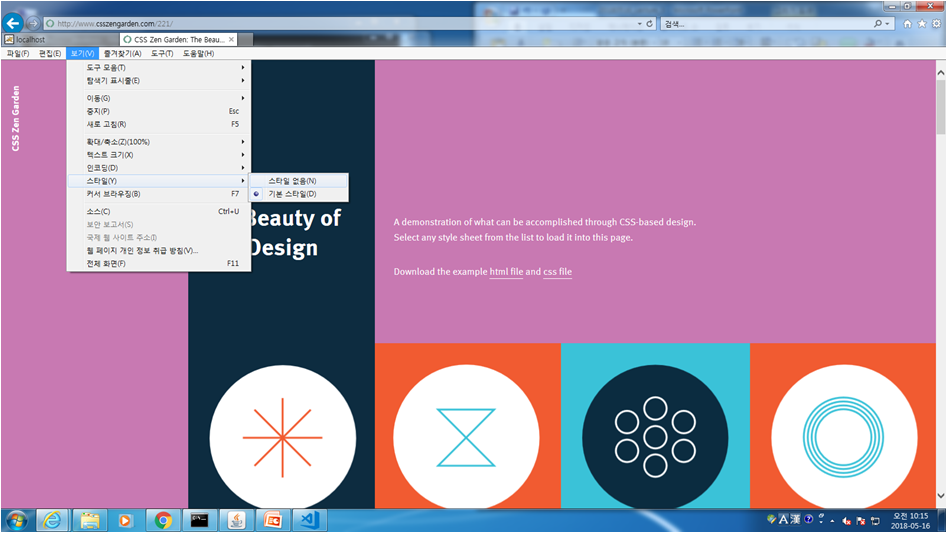
기본 스타일 적용시
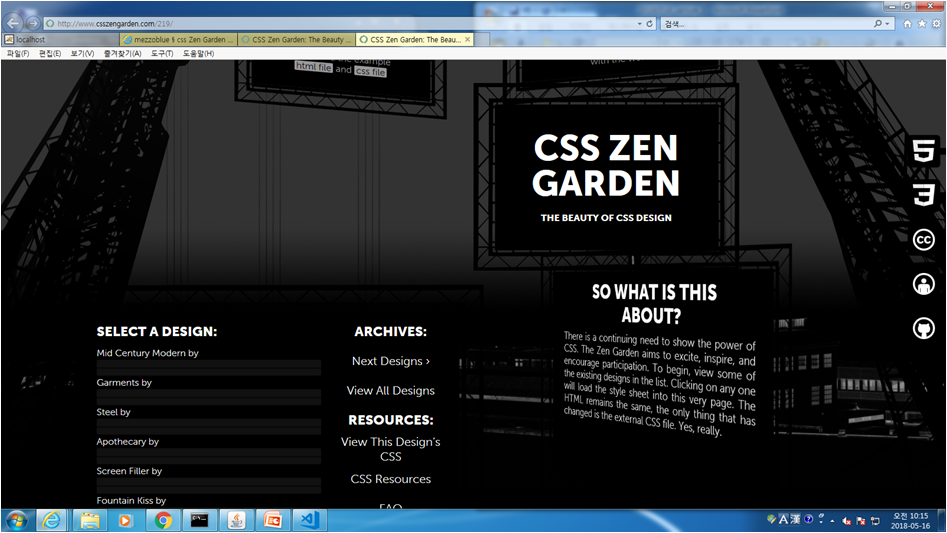
기본 스타일 적용시
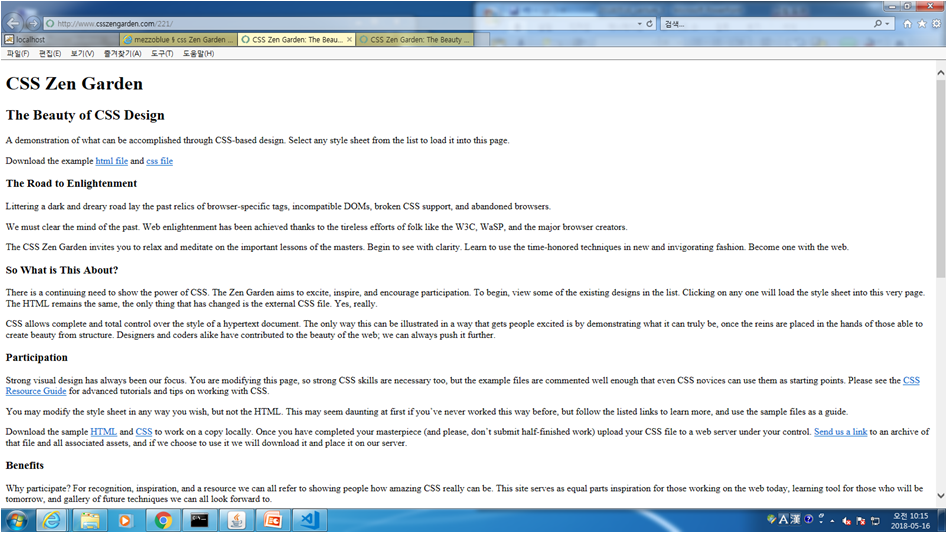
스타일 해제시 위 핑크나 블랙이나 해제하면 위와 같이 텍스트로만 이루어진 개발창이 뜬다.
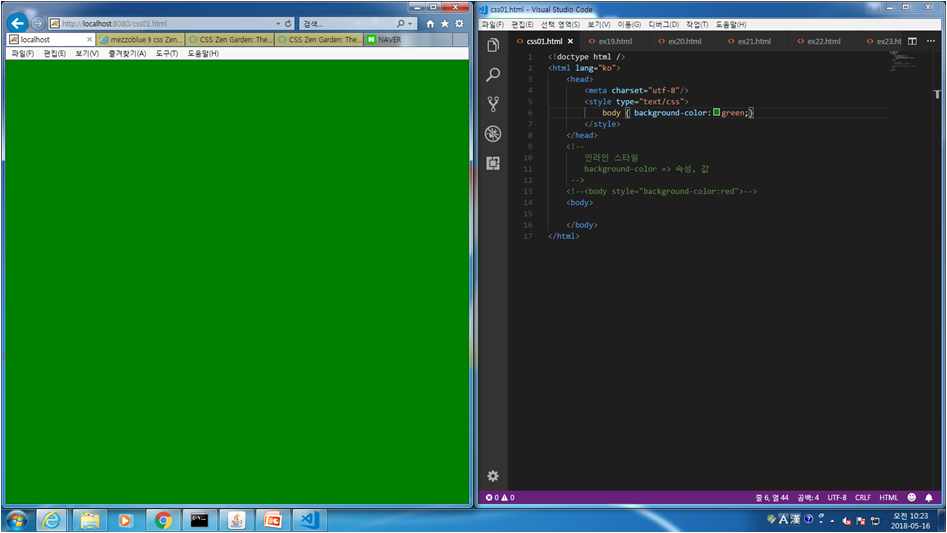
css.01 background-color body, table등에 색상 넣는법
인라인 스타일
1. background-color => 속성, 값
2. selector -> 원하는 태그
<!doctype html />
<html lang="ko">
<head>
<meta charset="utf-8"/>
<style type="text/css">
body { background-color:green;}
</style>
</head>
<!--
인라인 스타일
1. background-color => 속성, 값
2. selector -> 원하는 태그
-->
<!--<body style="background-color:red">-->
<body>

</body>
</html>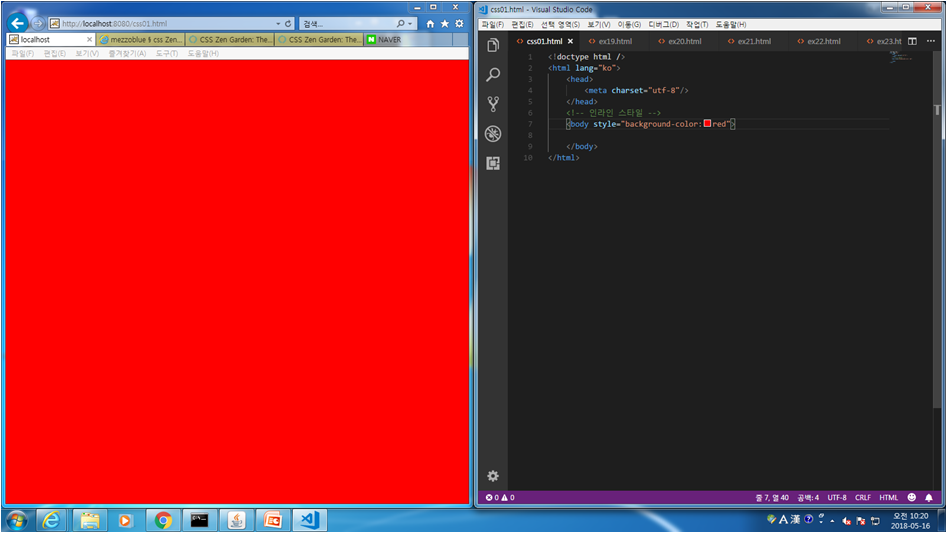
웹과 관련된 분야
1. 웹디자이너
- 디자인 원본 파일을 만든다(포토샵 작업)
2. 웹퍼블리셔(반은 디자이너가 반은 웹개발자가 일을 가져가기도 한다)
- 디자인 원본을 가지고 html(css, javascript)
3. 웹개발자
- 프로그램
4. 웹기획자
- 사이트 전체에 대한 기획, 마케팅
*웹마스터(PM) - 전체총괄
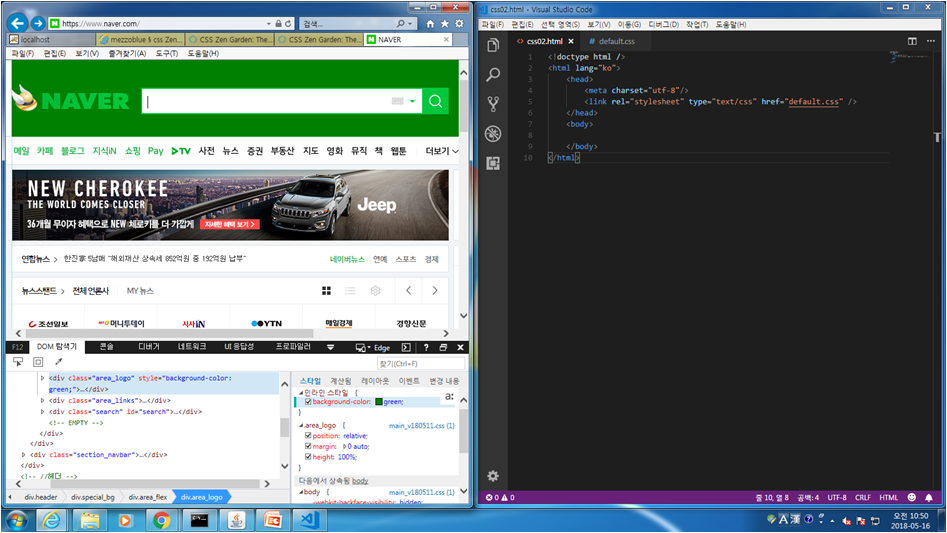
css.02 여러 페이지에 배경을 동시에 넣는 방법으로 stylesheet를 사용
<!doctype html />
<html lang="ko">
<head>
<meta charset="utf-8"/>
<!-- 여러 페이지 동시 사용 가능한 방법 -->
<link rel="stylesheet" type="text/css" href="default.css" />
</head>
<body>

</body>
</html>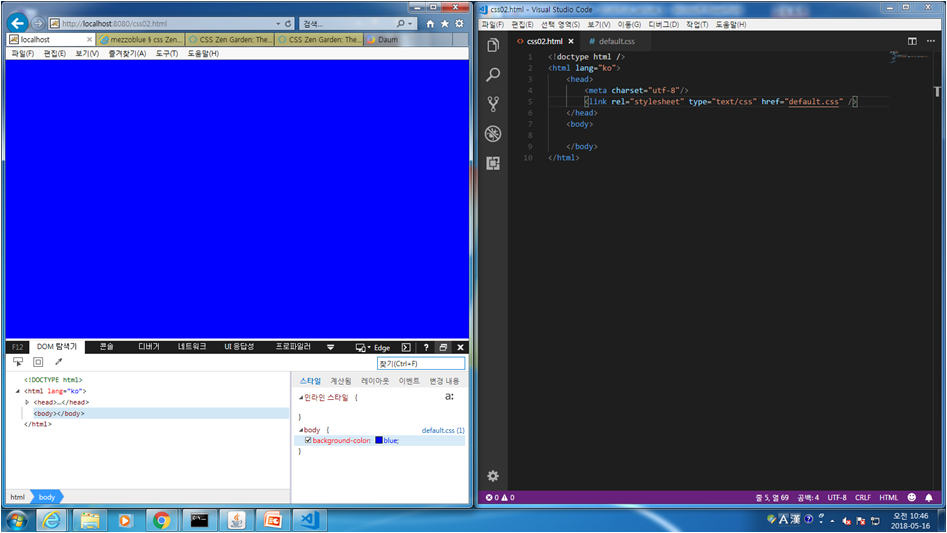
개발자 툴을 이용하여 기존 웹사이트 소스 정보를 알아낼 수 있다.
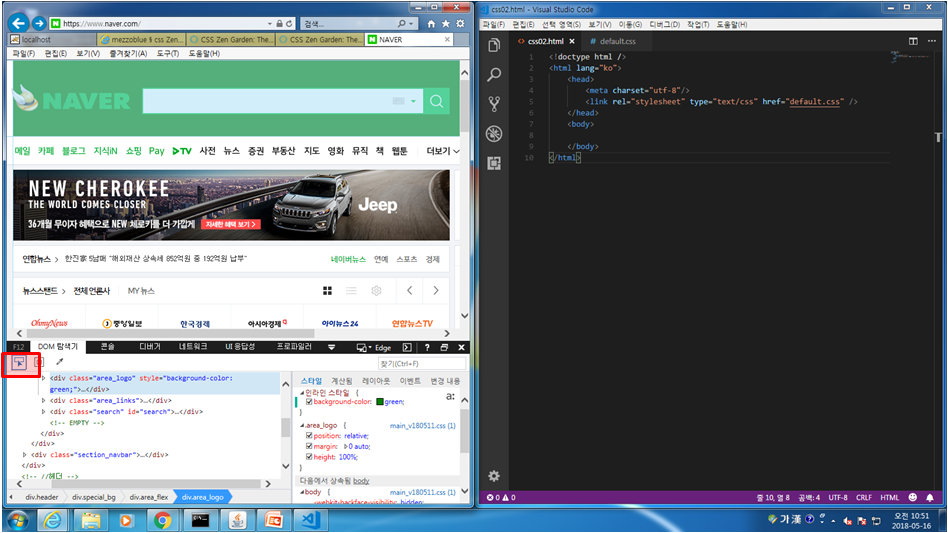
개발자 툴에서 위 표시된곳을 클릭하여 원하는 위치에 두고 클릭하면 해당 소스영역을 볼 수 있다.
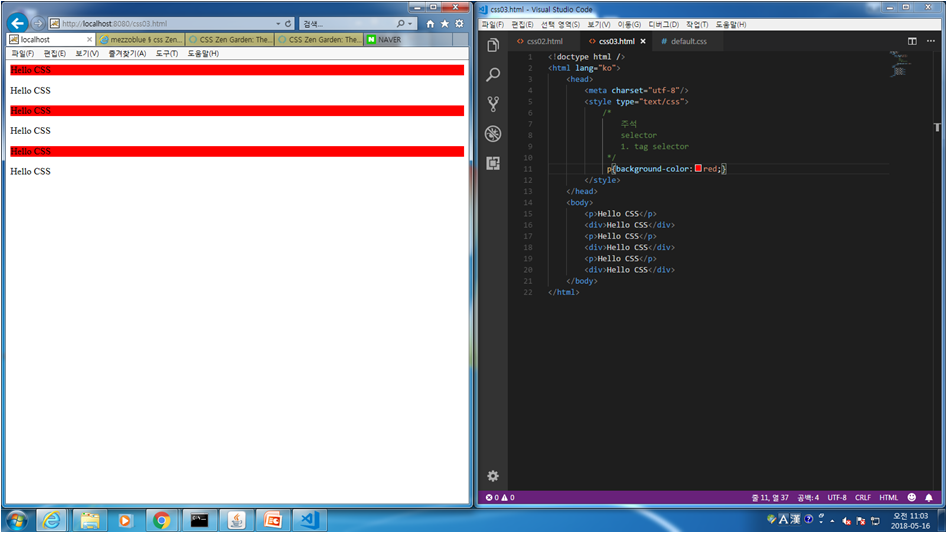
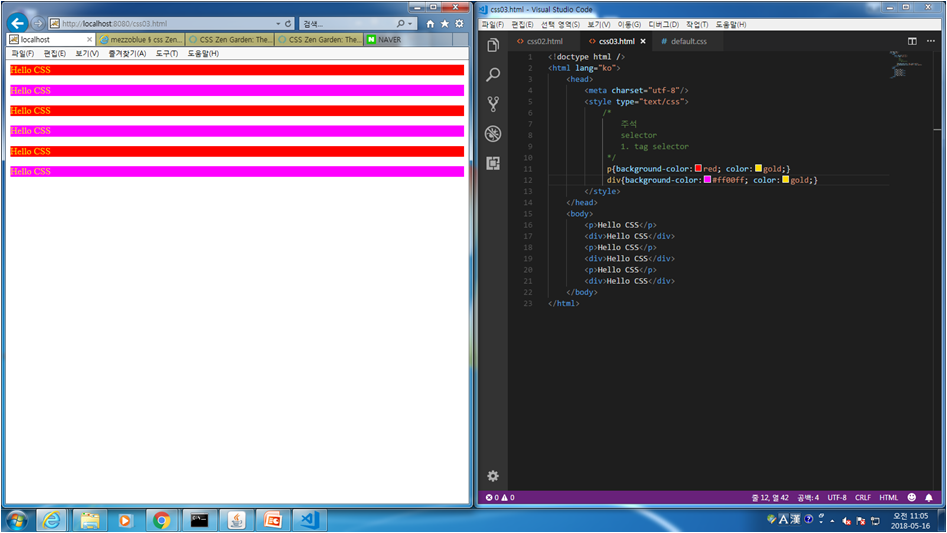
css.03 특정한 태그에 색상 넣는 법
<!doctype html />
<html lang="ko">
<head>
<meta charset="utf-8"/>
<style type="text/css">
/*
주석
selector
1. tag selector
*/
p{background-color:red; color:gold;}
div{background-color:#ff00ff; color:gold;}
</style>
</head>
<body>
<p>Hello CSS</p>
<div>Hello CSS</div>
<p>Hello CSS</p>
<div>Hello CSS</div>
<p>Hello CSS</p>
<div>Hello CSS</div>
</body>
</html>

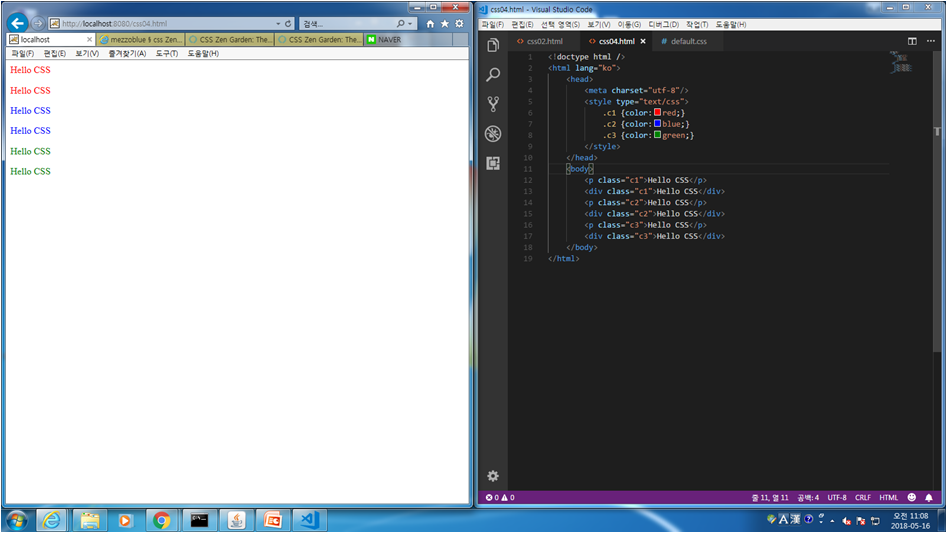
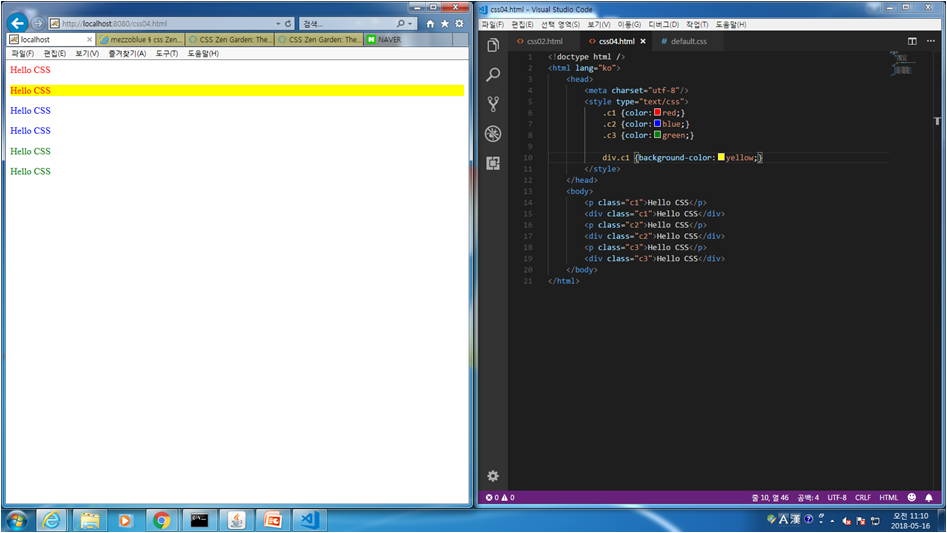
css.04 class를 이용하여 글자 색상 넣는 법
<!doctype html />
<html lang="ko">
<head>
<meta charset="utf-8"/>
<style type="text/css">
.c1 {color:red;}
.c2 {color:blue;}
.c3 {color:green;}

div.c1 {background-color:yellow;}
</style>
</head>
<body>
<p class="c1">Hello CSS</p>
<div class="c1">Hello CSS</div>
<p class="c2">Hello CSS</p>
<div class="c2">Hello CSS</div>
<p class="c3">Hello CSS</p>
<div class="c3">Hello CSS</div>
</body>
</html>
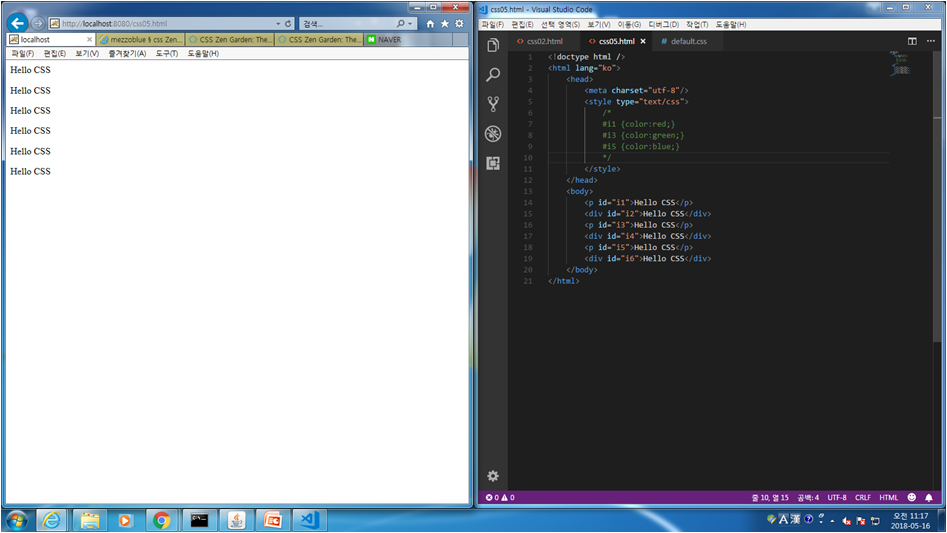
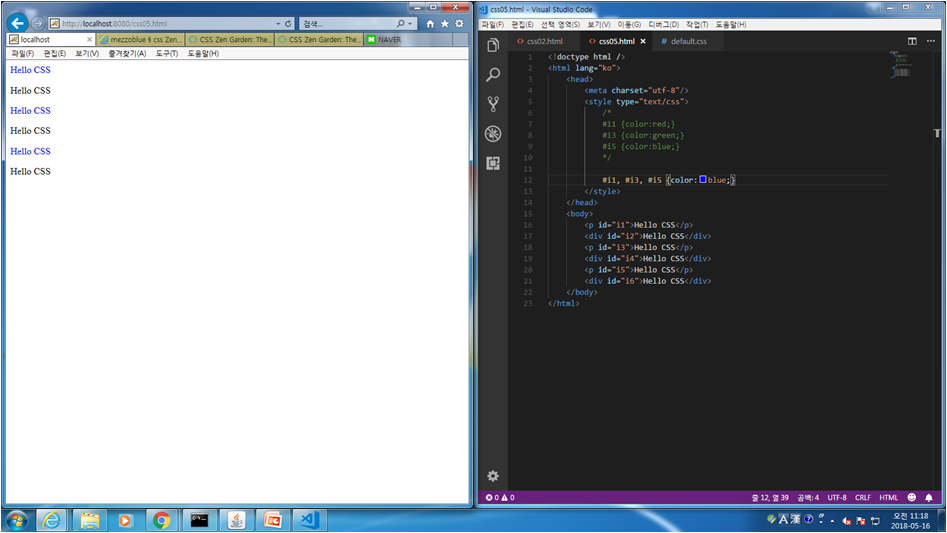
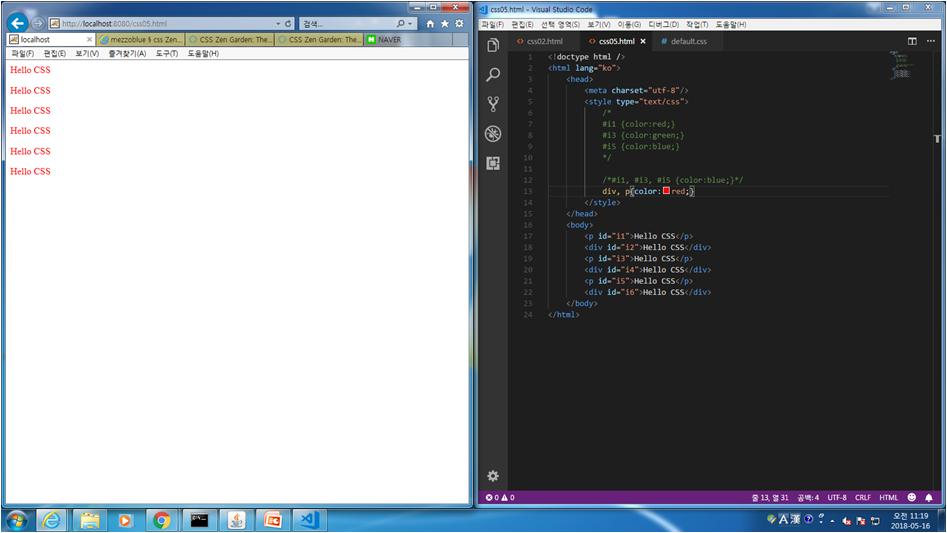
css.05 id를 이용하여 글자 색상 넣는 법
<!doctype html />
<html lang="ko">
<head>
<meta charset="utf-8"/>
<style type="text/css">
/*
#i1 {color:red;}
#i3 {color:green;}
#i5 {color:blue;}
*/

/*#i1, #i3, #i5 {color:blue;}*/
div, p{color:red;}
</style>
</head>
<body>
<p id="i1">Hello CSS</p>
<div id="i2">Hello CSS</div>
<p id="i3">Hello CSS</p>
<div id="i4">Hello CSS</div>
<p id="i5">Hello CSS</p>
<div id="i6">Hello CSS</div>
</body>
</html>

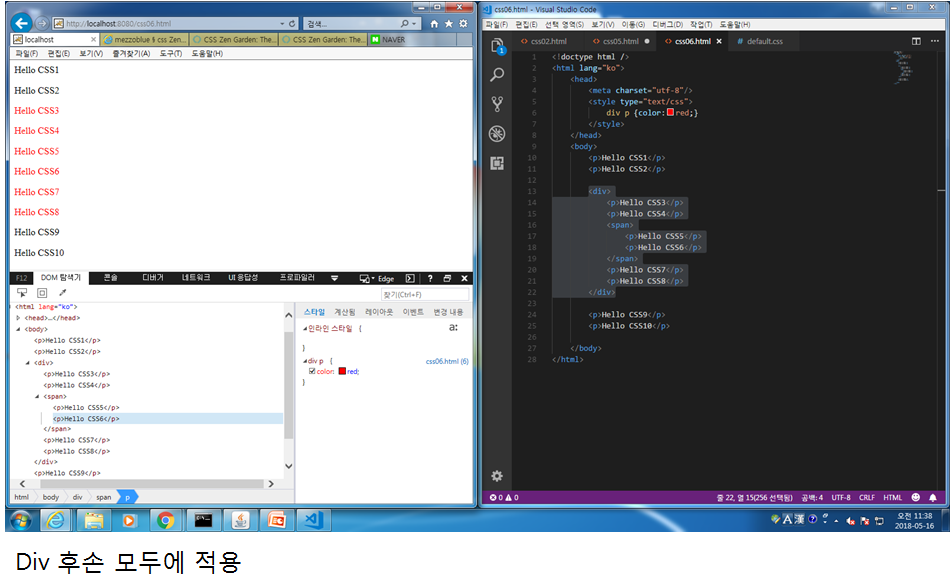
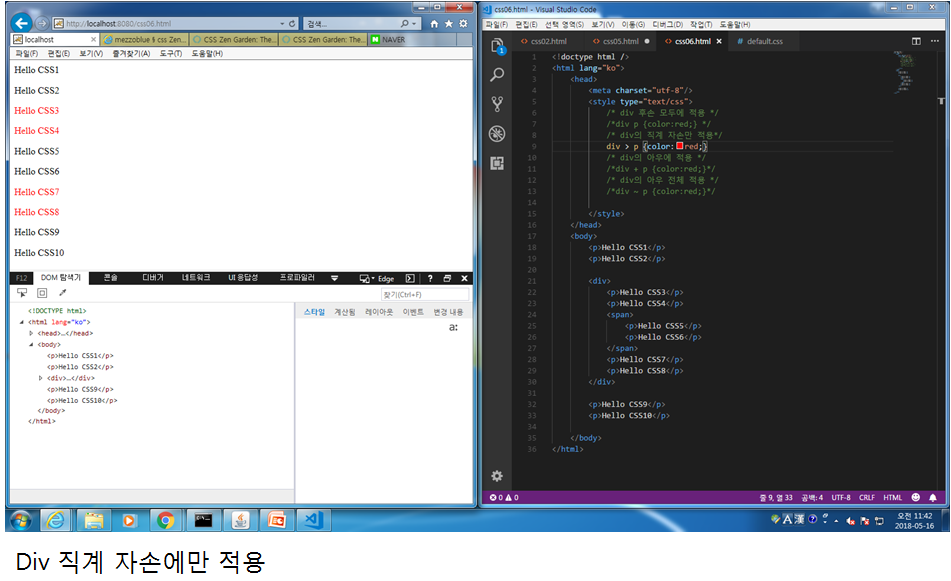
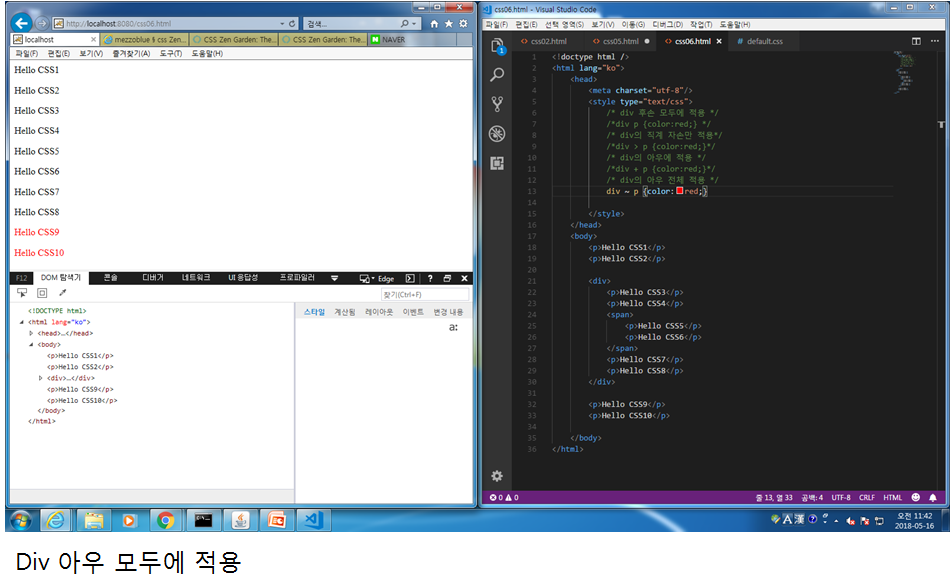
css.06 계층(후손, 직계자손, 아우, 아우 전체 등) 별 글자 색상 넣는 법
<!doctype html />
<html lang="ko">
<head>
<meta charset="utf-8"/>
<style type="text/css">
/* div 후손 모두에 적용 */
/*div p {color:red;} */
/* div의 직계 자손만 적용*/
/*div > p {color:red;}*/
/* div의 아우에 적용 */
/*div + p {color:red;}*/
/* div의 아우 전체 적용 */
div ~ p {color:red;}

</style>
</head>
<body>
<p>Hello CSS1</p>
<p>Hello CSS2</p>

<div>
<p>Hello CSS3</p>
<p>Hello CSS4</p>
<span>
<p>Hello CSS5</p>
<p>Hello CSS6</p>
</span>
<p>Hello CSS7</p>
<p>Hello CSS8</p>
</div>

<p>Hello CSS9</p>
<p>Hello CSS10</p>

</body>
</html>


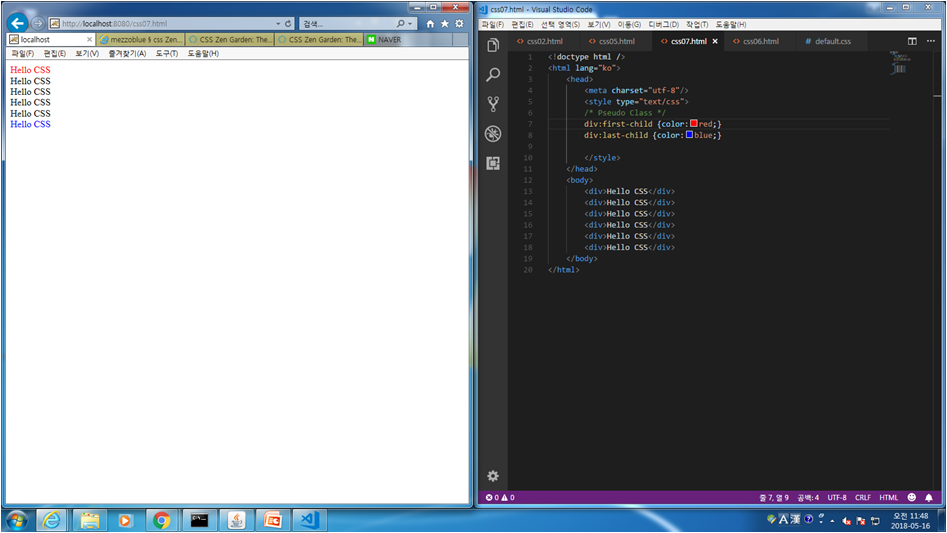
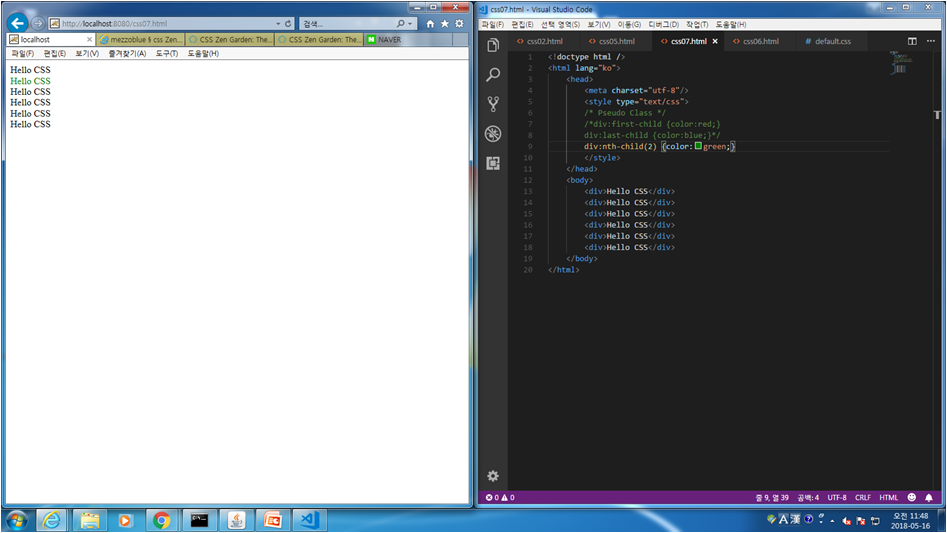
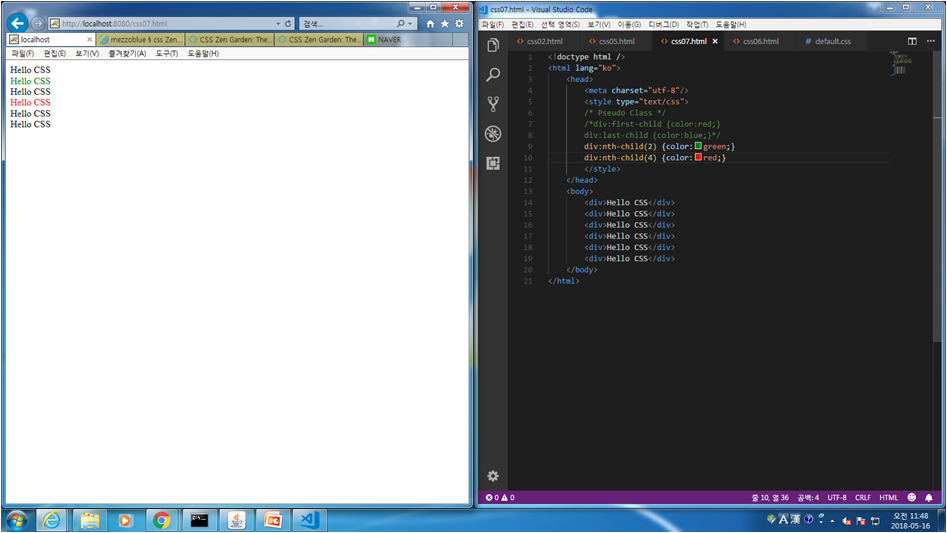
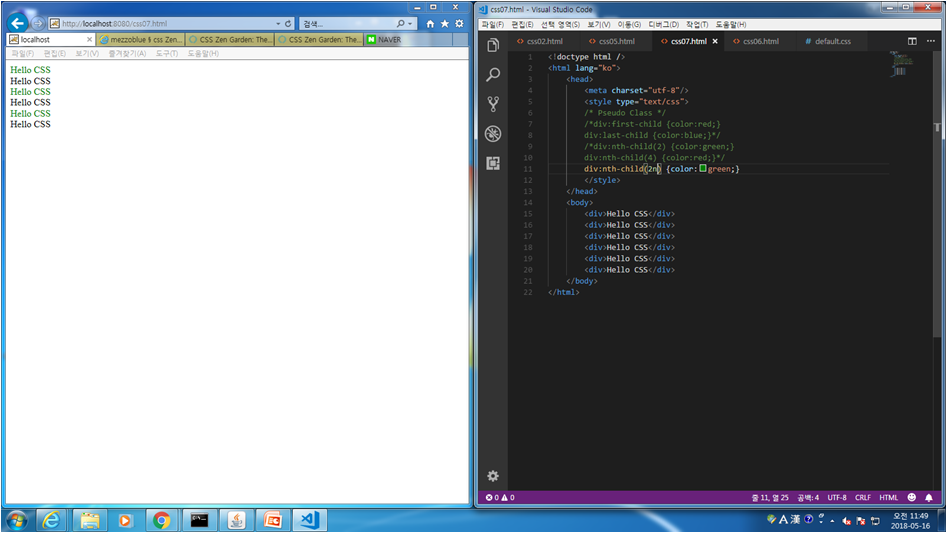
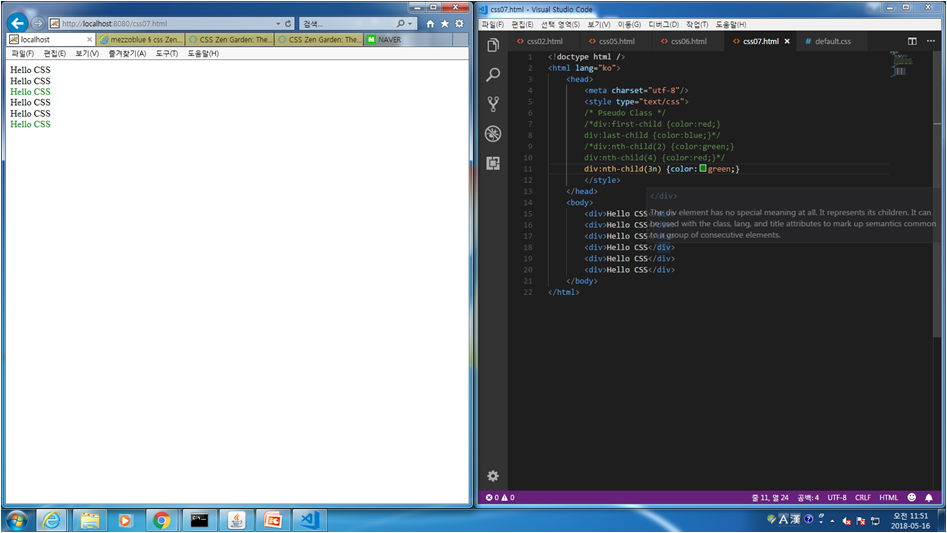
css.07 nth-child를 이용하여 n번째 태그에 글자 색상 지정 법
<!doctype html />
<html lang="ko">
<head>
<meta charset="utf-8"/>
<style type="text/css">
/* Pseudo Class */
/*div:first-child {color:red;}
div:last-child {color:blue;}*/
/*div:nth-child(2) {color:green;}
div:nth-child(4) {color:red;}*/
div:nth-child(2n) {color:green;}
</style>
</head>
<body>
<div>Hello CSS</div>
<div>Hello CSS</div>
<div>Hello CSS</div>
<div>Hello CSS</div>
<div>Hello CSS</div>
<div>Hello CSS</div>
</body>
</html>
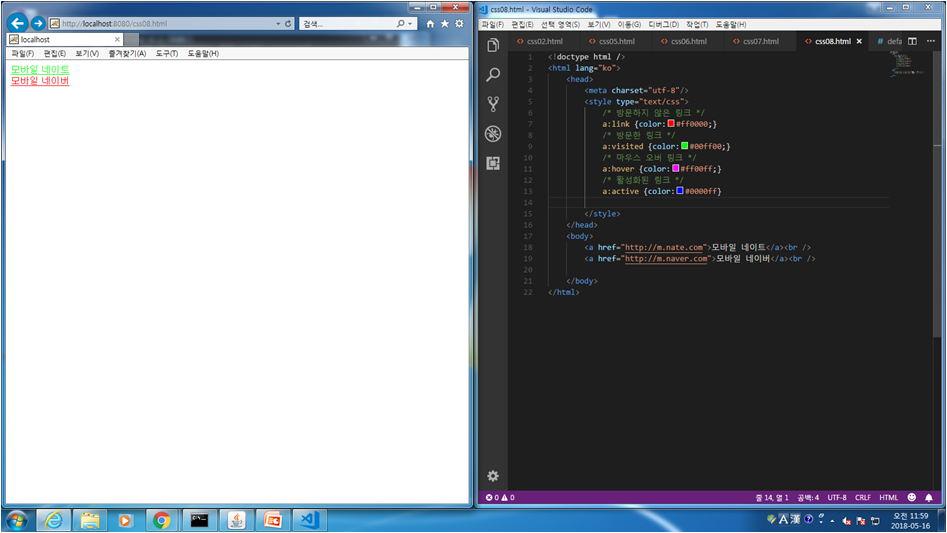
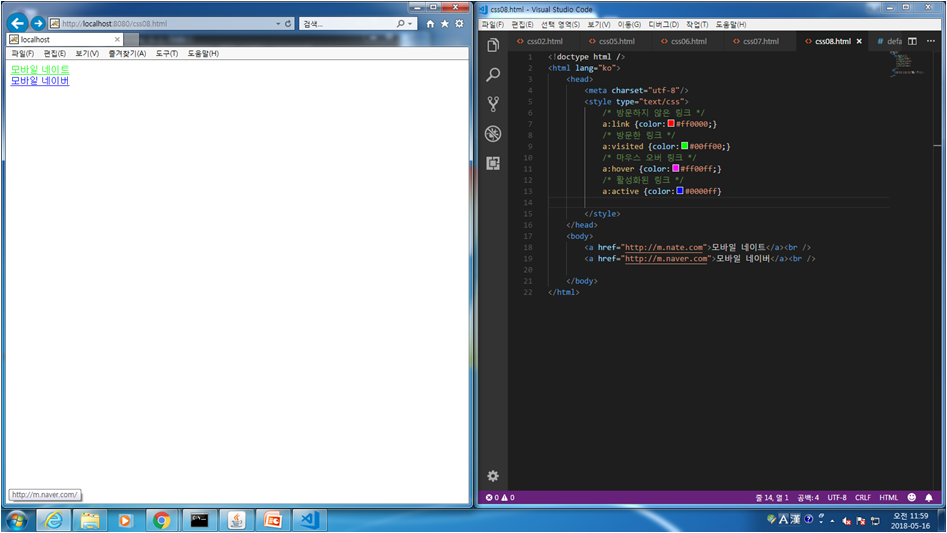
css.08 링크시 방문하지 않은 링크, 방문한 링크, 마우스 오버, 활성화된 링크 등 색상 지정법
<!doctype html />
<html lang="ko">
<head>
<meta charset="utf-8"/>
<style type="text/css">
/* 방문하지 않은 링크 */
a:link {color:#ff0000;}
/* 방문한 링크 */
a:visited {color:#00ff00;}
/* 마우스 오버 링크 */
a:hover {color:#ff00ff;}
/* 활성화된 링크 */
a:active {color:#0000ff}

</style>
</head>
<body>
<a href="http://m.nate.com">모바일 네이트</a><br />
<a href="http://m.naver.com">모바일 네이버</a><br />

</body>
</html>

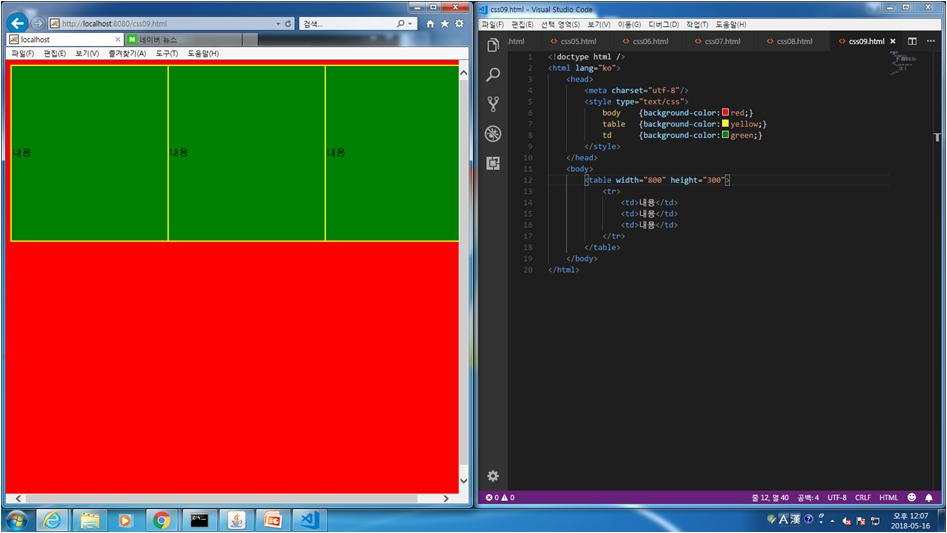
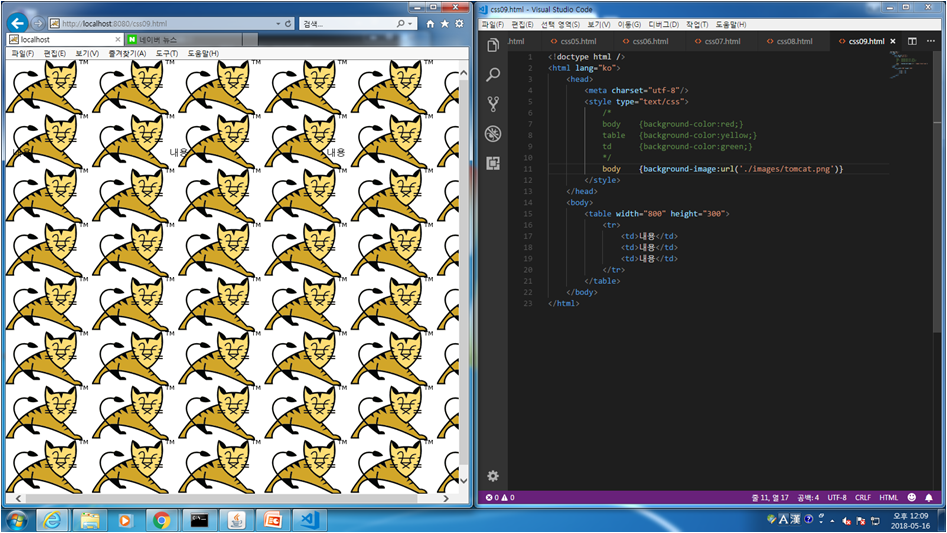
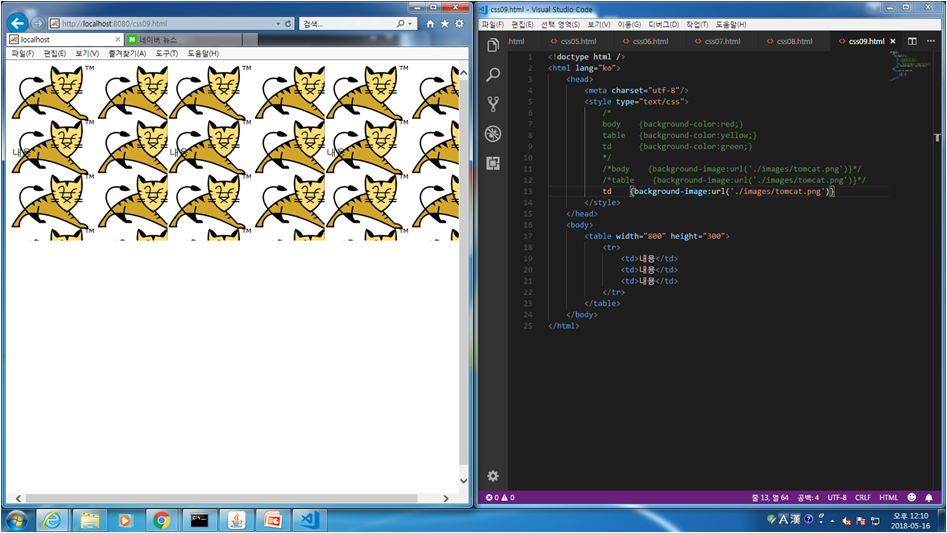
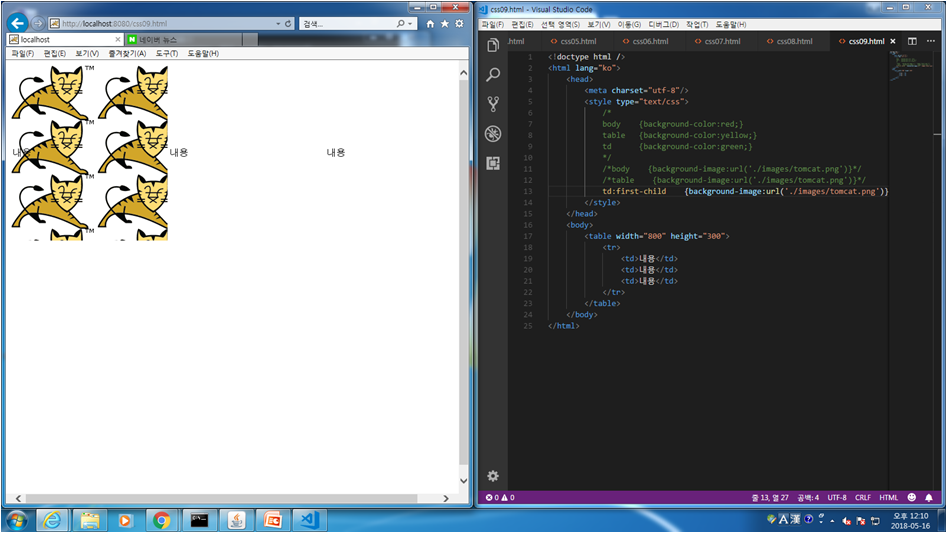
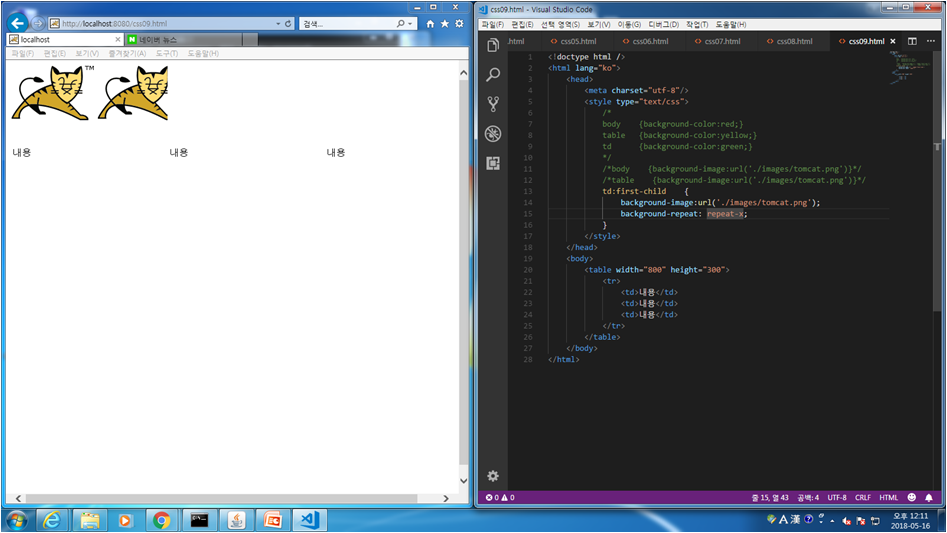
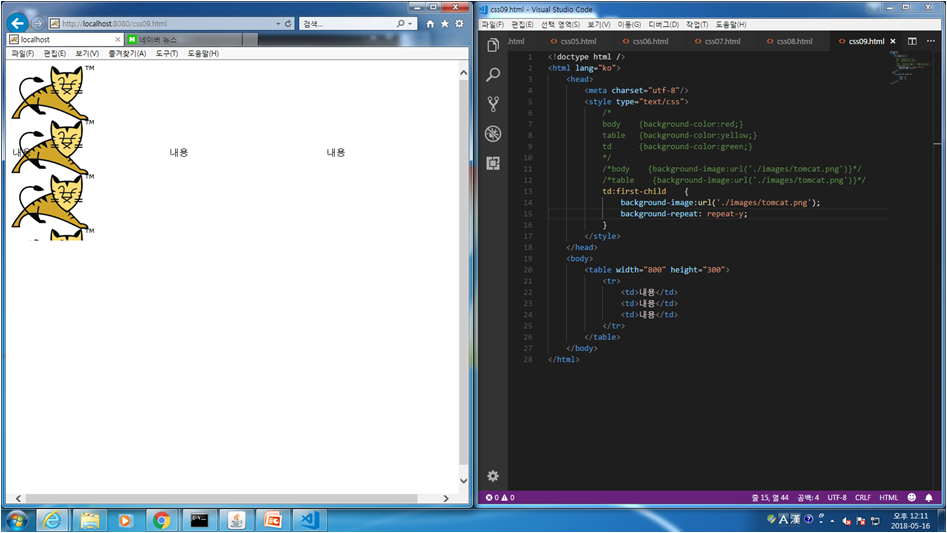
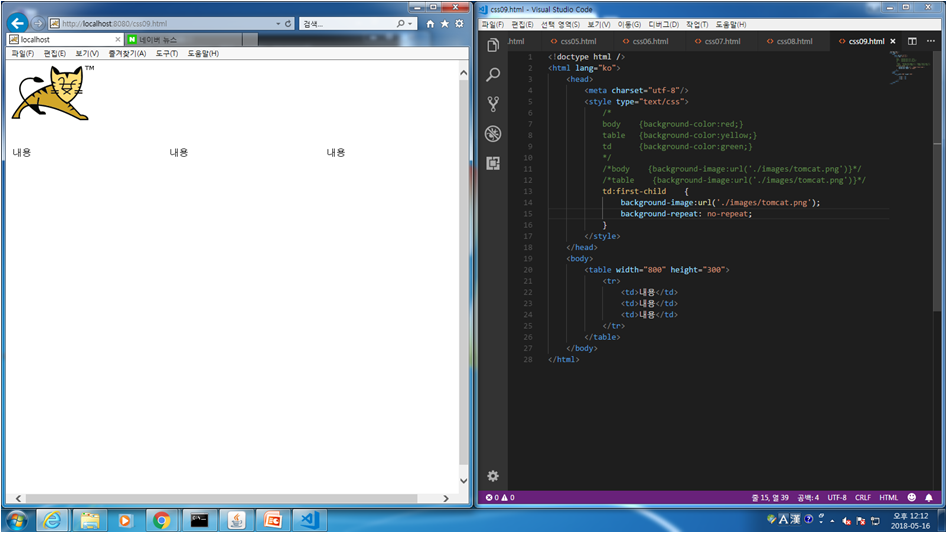
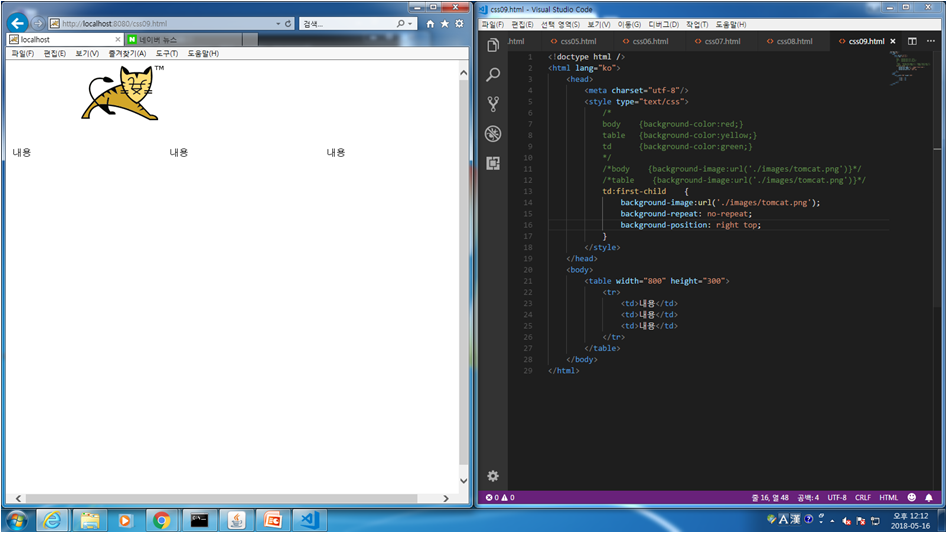
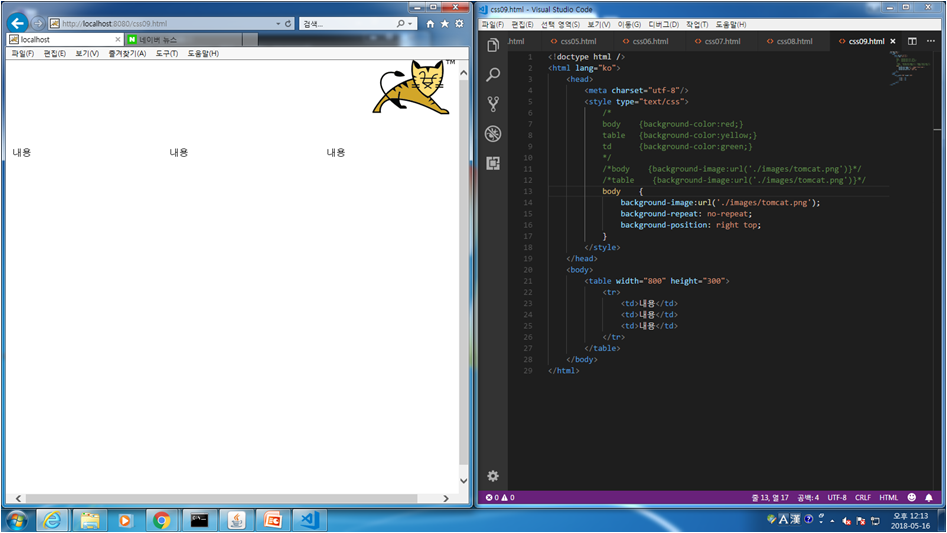
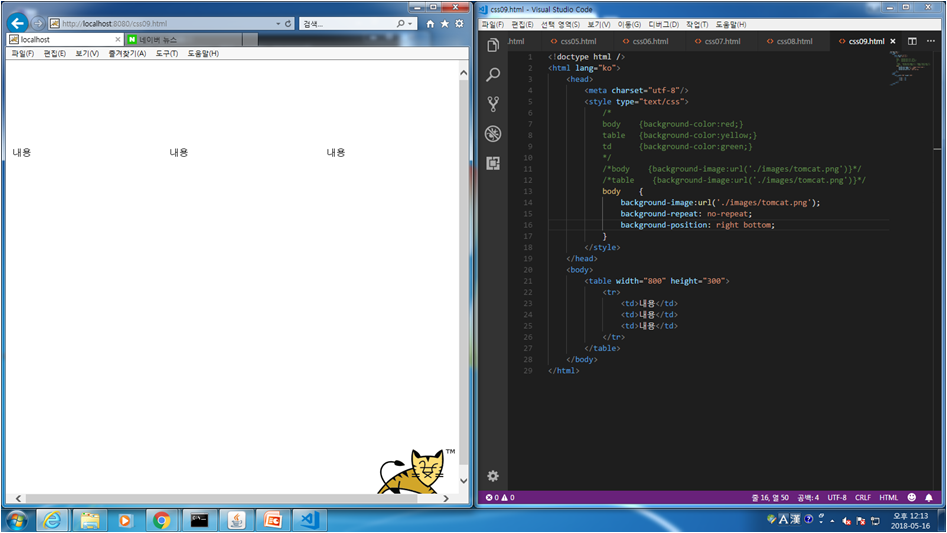
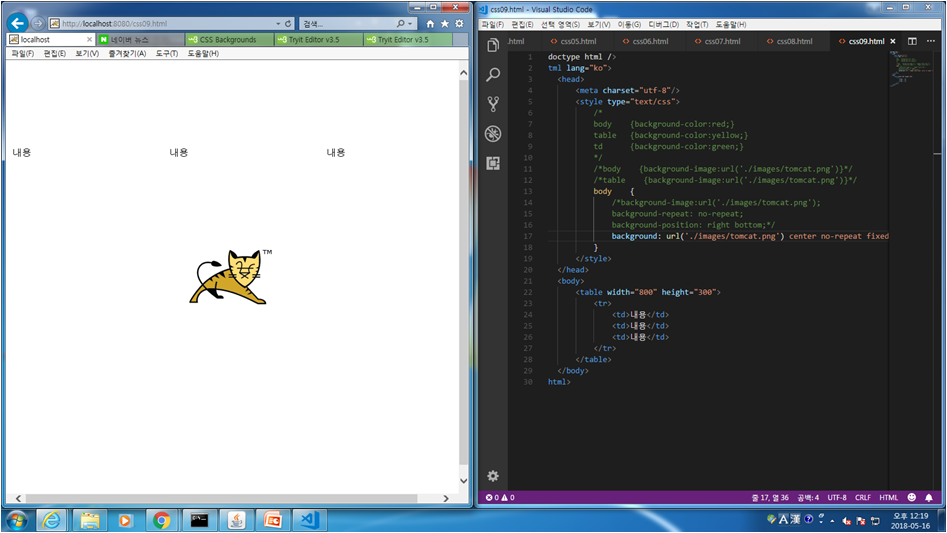
css.09 body, table, td 등에 배경화면으로 이미지를 삽입하고, 이미지 표현법 등
<!doctype html />
<html lang="ko">
<head>
<meta charset="utf-8"/>
<style type="text/css">
/*
body {background-color:red;}
table {background-color:yellow;}
td {background-color:green;}
*/
/*body {background-image:url('./images/tomcat.png')}*/
/*table {background-image:url('./images/tomcat.png')}*/
body {
/*background-image:url('./images/tomcat.png');
background-repeat: no-repeat;
background-position: right bottom;*/
background: url('./images/tomcat.png') center no-repeat fixed
}
</style>
</head>
<body>
<table width="800" height="300">
<tr>
<td>내용</td>
<td>내용</td>
<td>내용</td>
</tr>
</table>
</body>
</html>


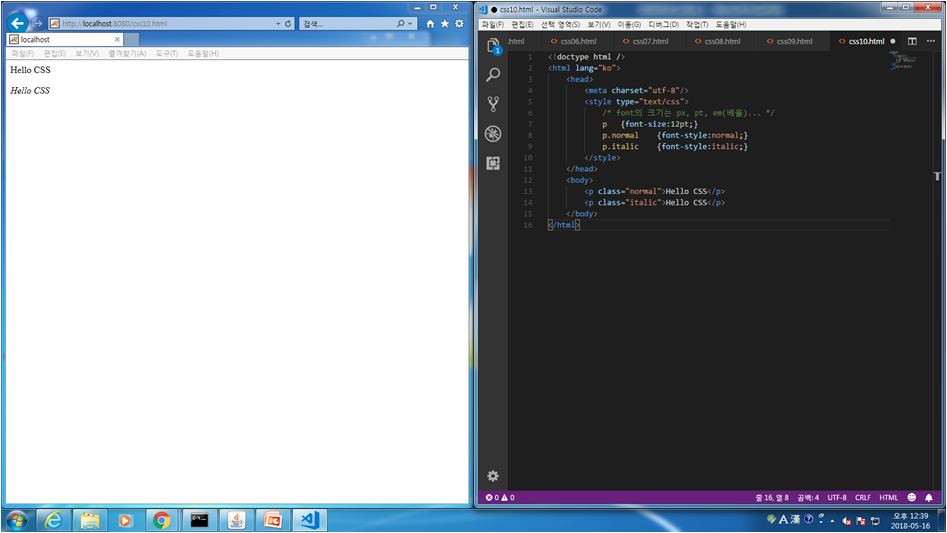
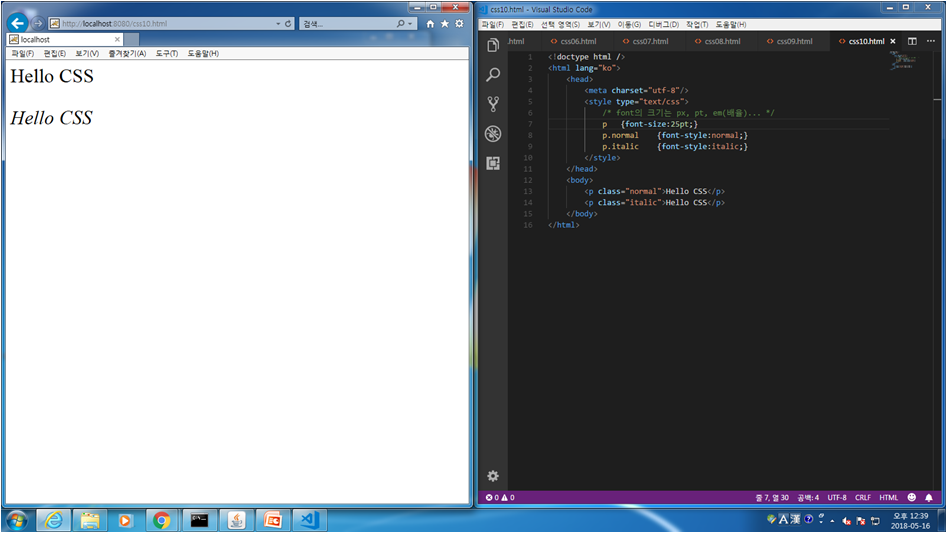
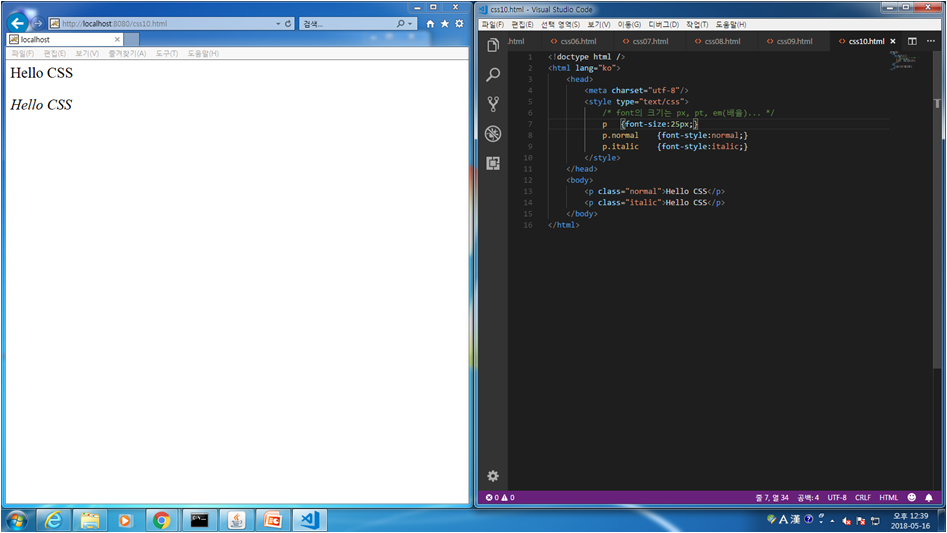
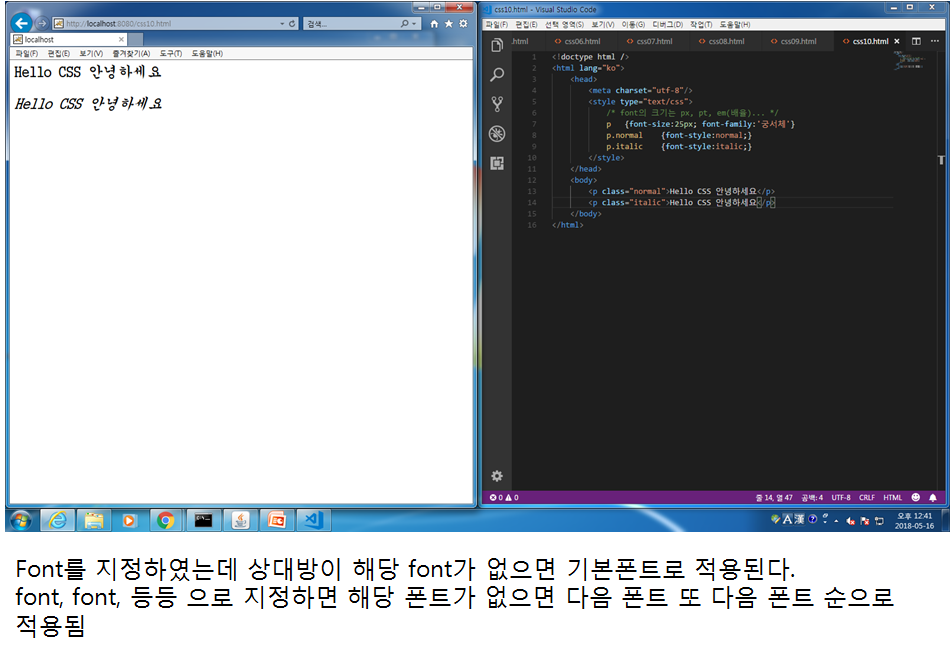
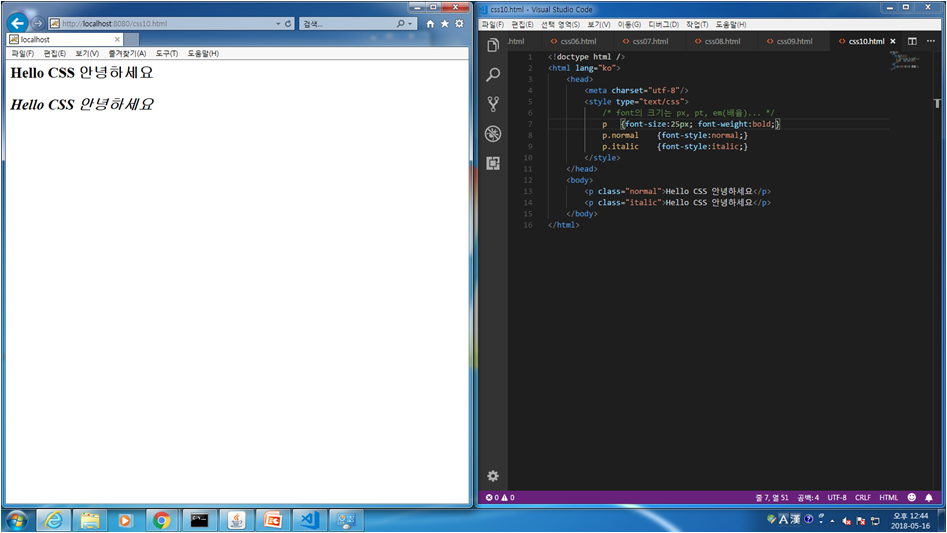
css.10 글자 편집 법
<!doctype html />
<html lang="ko">
<head>
<meta charset="utf-8"/>
<style type="text/css">
/* font의 크기는 px, pt, em(배율)... */
p {font-size:25px; font-weight:bold;}
p.normal {font-style:normal;}
p.italic {font-style:italic;}
</style>
</head>
<body>
<p class="normal">Hello CSS 안녕하세요</p>
<p class="italic">Hello CSS 안녕하세요</p>
</body>
</html>
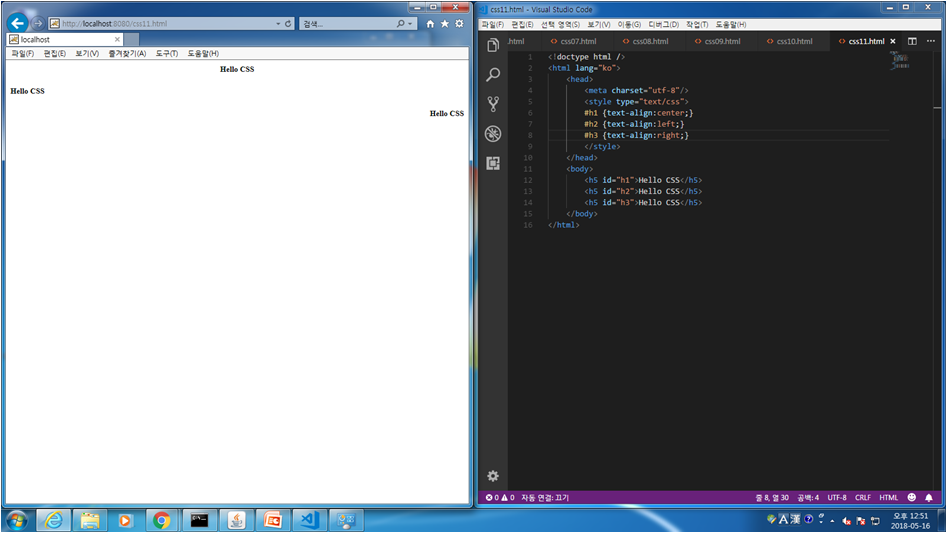
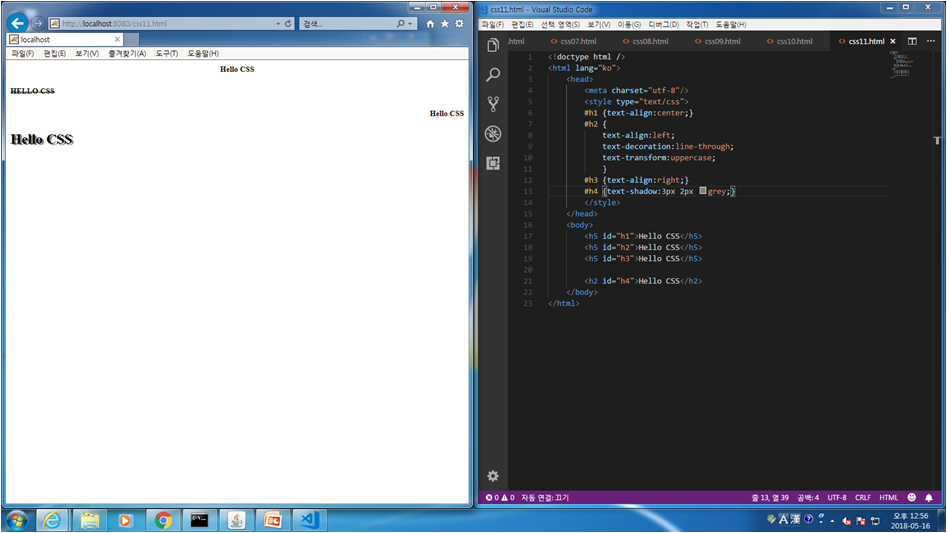
css.11 글자 편집 법 2, 정렬, 삭선, 대문자, 음영처리 등
<!doctype html />
<html lang="ko">
<head>
<meta charset="utf-8"/>
<style type="text/css">
#h1 {text-align:center;}
#h2 {
text-align:left;
text-decoration:line-through;
text-transform:uppercase;
}
#h3 {text-align:right;}
#h4 {text-shadow:3px 2px grey;}
</style>
</head>
<body>
<h5 id="h1">Hello CSS</h5>
<h5 id="h2">Hello CSS</h5>
<h5 id="h3">Hello CSS</h5>

<h2 id="h4">Hello CSS</h2>
</body>
</html>


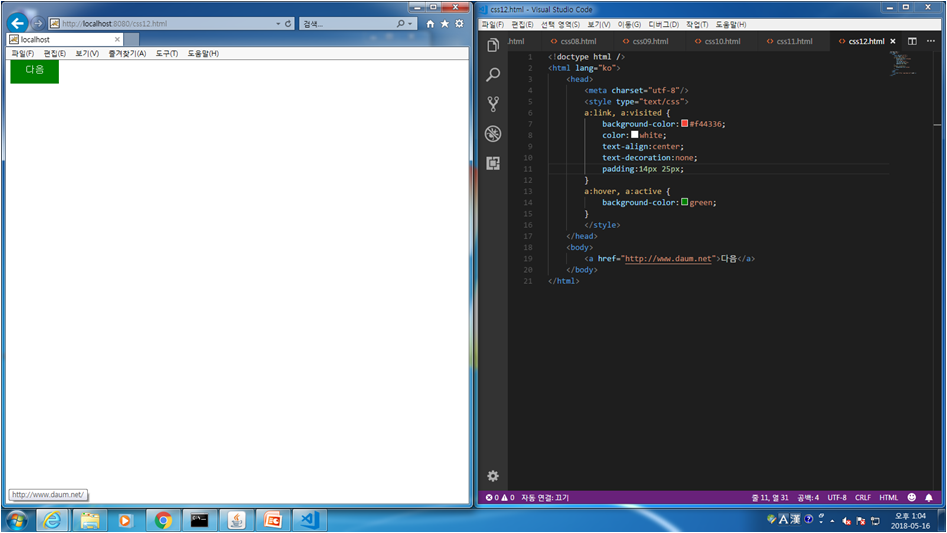
css.12 링크에 버튼형식으로 만든 후 색상 변경 법(평상시, 마우스오버시(hover) 색상 변경됨)
link, visited, hover, active
<!doctype html />
<html lang="ko">
<head>
<meta charset="utf-8"/>
<style type="text/css">
a:link, a:visited {
background-color:#f44336;
color:white;
text-align:center;
text-decoration:none;
padding:14px 25px;
}
a:hover, a:active {
background-color:green;
}
</style>
</head>
<body>
<a href="http://www.daum.net">다음</a>
</body>
</html>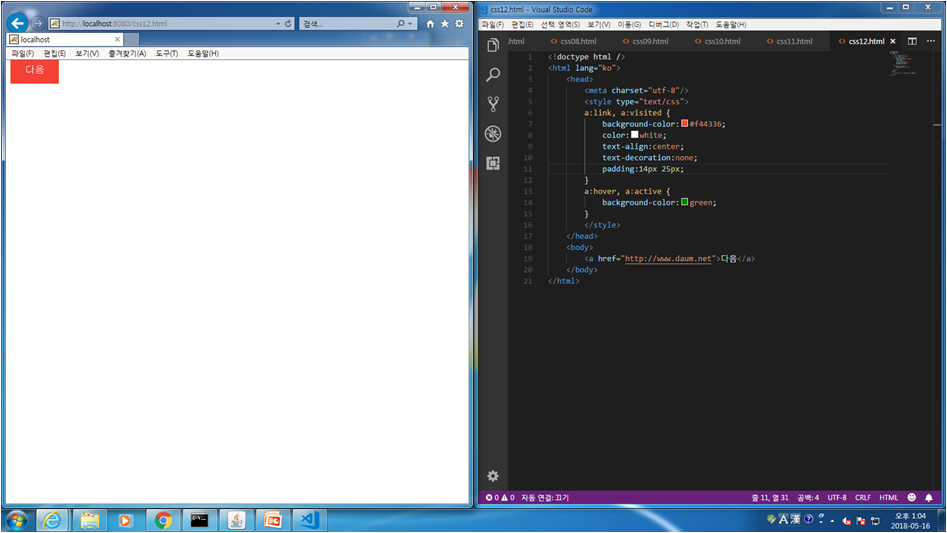
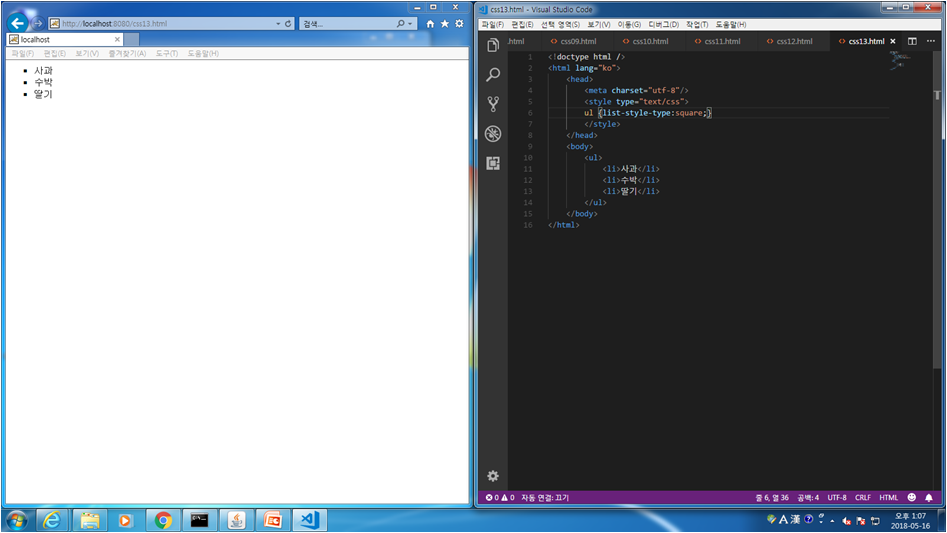
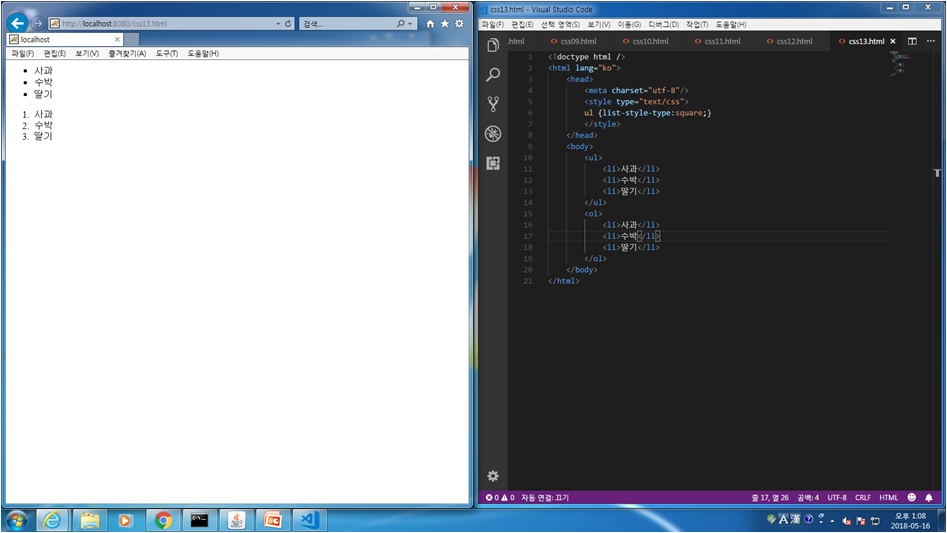
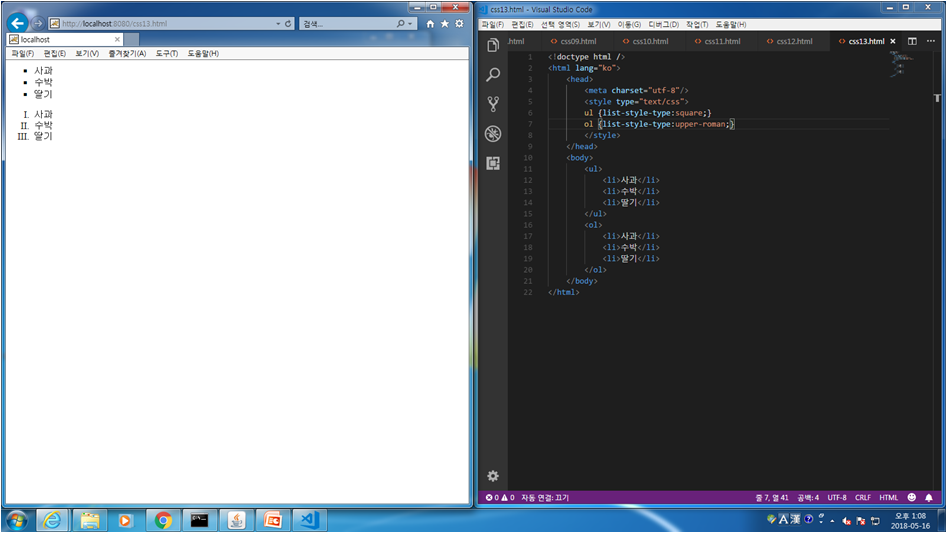
css.13 <ul>, <ol> 디자인 편집 법
<!doctype html />
<html lang="ko">
<head>
<meta charset="utf-8"/>
<style type="text/css">
/*ul {list-style-type:square;}*/
ul {list-style-image:url('./images/sqpurple.gif')}
ol {list-style-type:upper-roman;}
</style>
</head>
<body>
<ul>
<li>사과</li>
<li>수박</li>
<li>딸기</li>
</ul>
<ol>
<li>사과</li>
<li>수박</li>
<li>딸기</li>
</ol>
</body>
</html>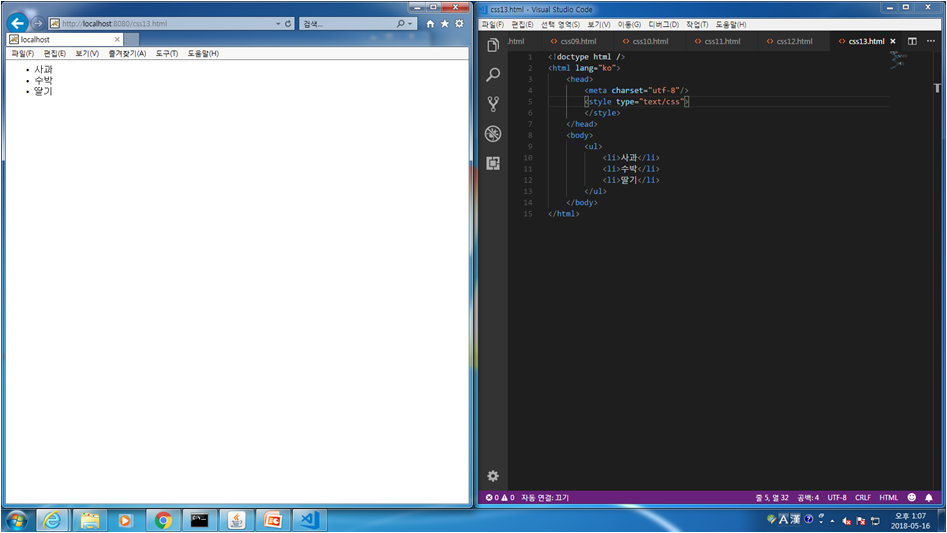

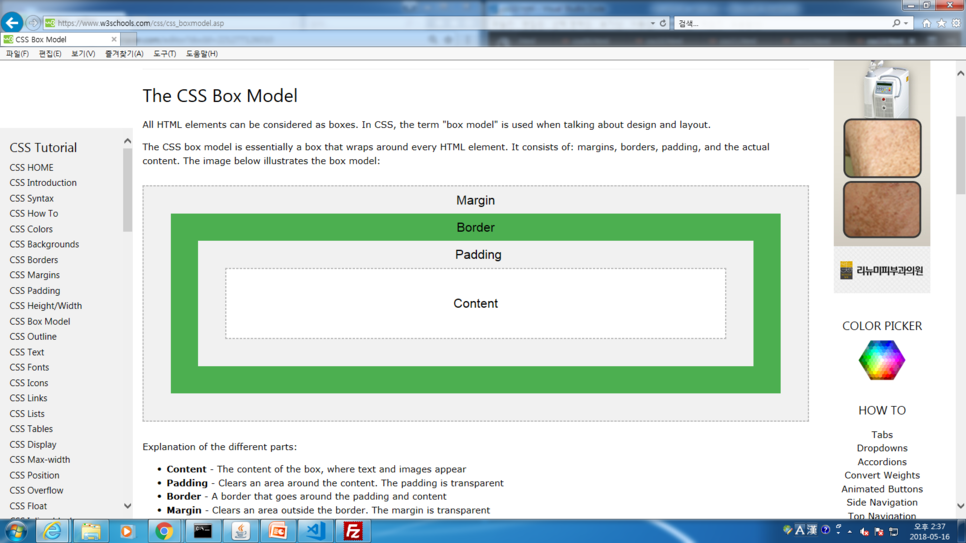
CSS Box Model
class는 .d1
id는 #d1
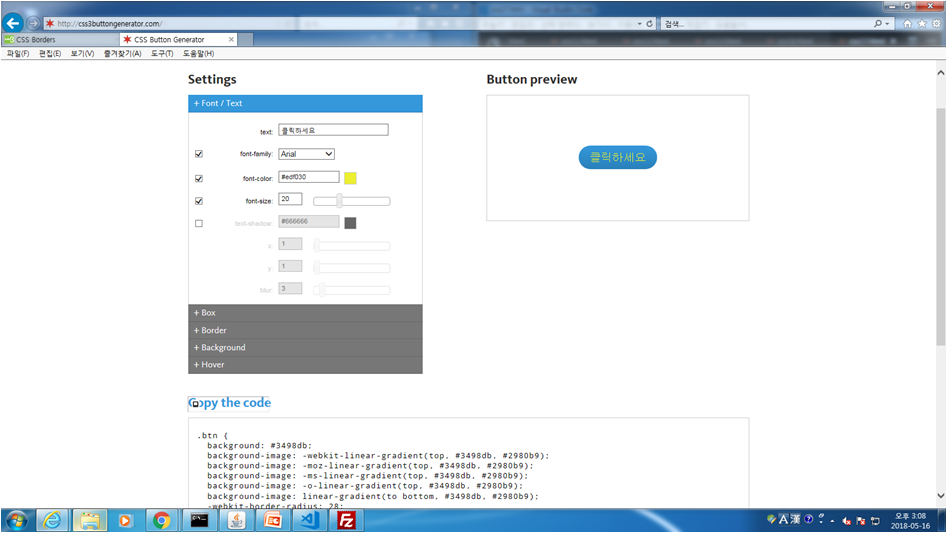
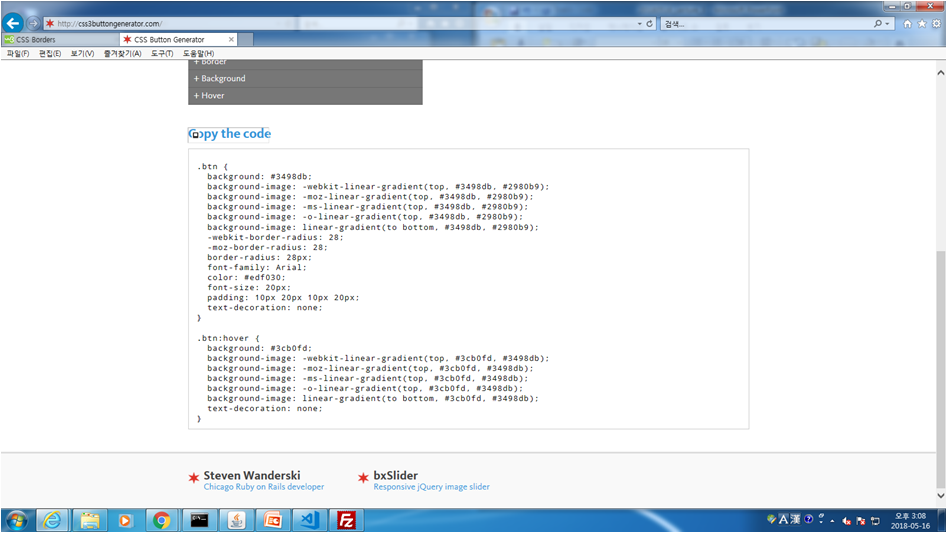
http://css3buttongenerator.com
CSS Button Generator
Copy the code
css3buttongenerator.com
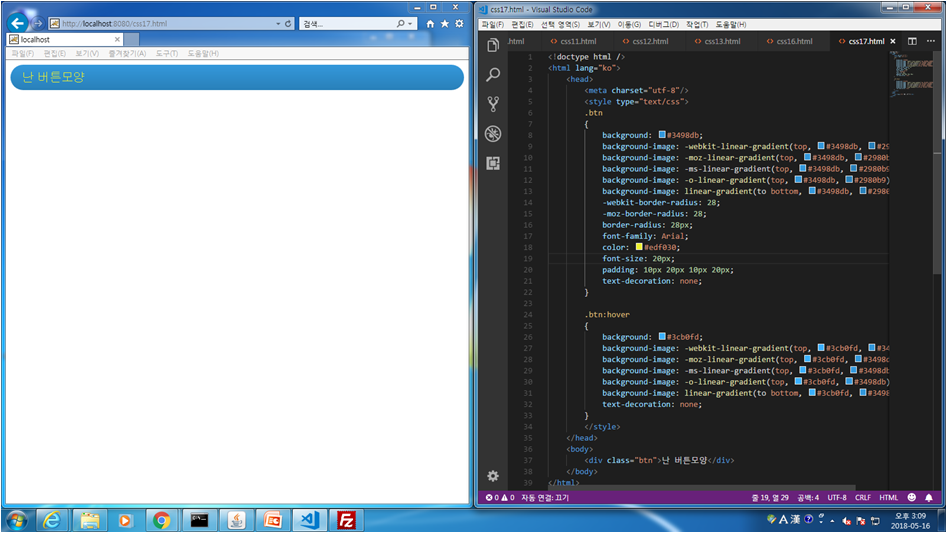
css.17 css button generator를 이용하여 디자인된 버튼 사용법
<!doctype html />
<html lang="ko">
<head>
<meta charset="utf-8"/>
<style type="text/css">
.btn
{
background: #3498db;
background-image: -webkit-linear-gradient(top, #3498db, #2980b9);
background-image: -moz-linear-gradient(top, #3498db, #2980b9);
background-image: -ms-linear-gradient(top, #3498db, #2980b9);
background-image: -o-linear-gradient(top, #3498db, #2980b9);
background-image: linear-gradient(to bottom, #3498db, #2980b9);
-webkit-border-radius: 28;
-moz-border-radius: 28;
border-radius: 28px;
font-family: Arial;
color: #edf030;
font-size: 20px;
padding: 10px 20px 10px 20px;
text-decoration: none;
}

.btn:hover
{
background: #3cb0fd;
background-image: -webkit-linear-gradient(top, #3cb0fd, #3498db);
background-image: -moz-linear-gradient(top, #3cb0fd, #3498db);
background-image: -ms-linear-gradient(top, #3cb0fd, #3498db);
background-image: -o-linear-gradient(top, #3cb0fd, #3498db);
background-image: linear-gradient(to bottom, #3cb0fd, #3498db);
text-decoration: none;
}
</style>
</head>
<body>
<div class="btn">난 버튼모양</div>
</body>
</html>
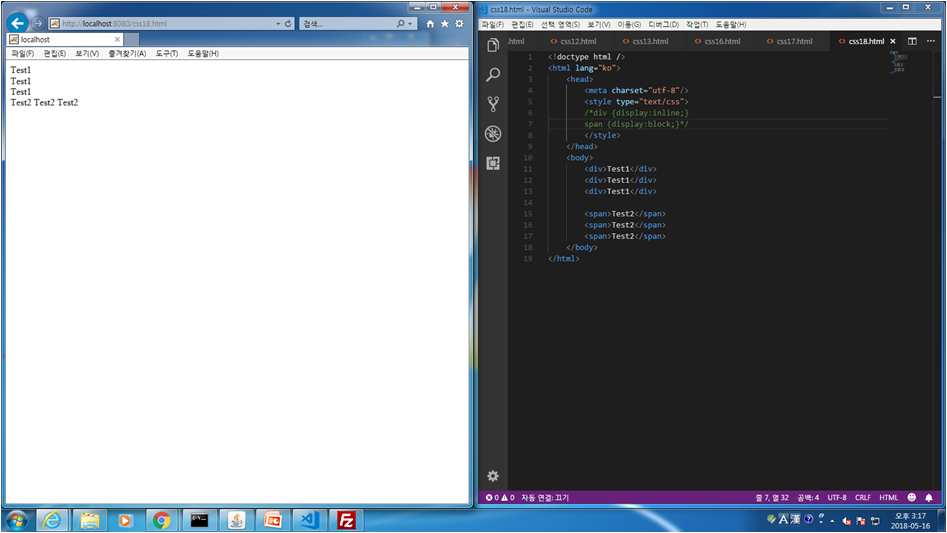
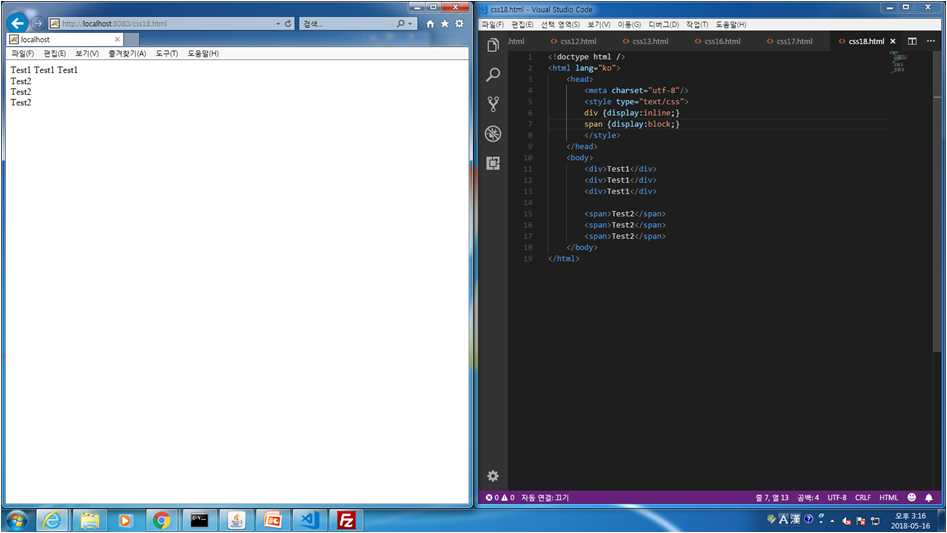
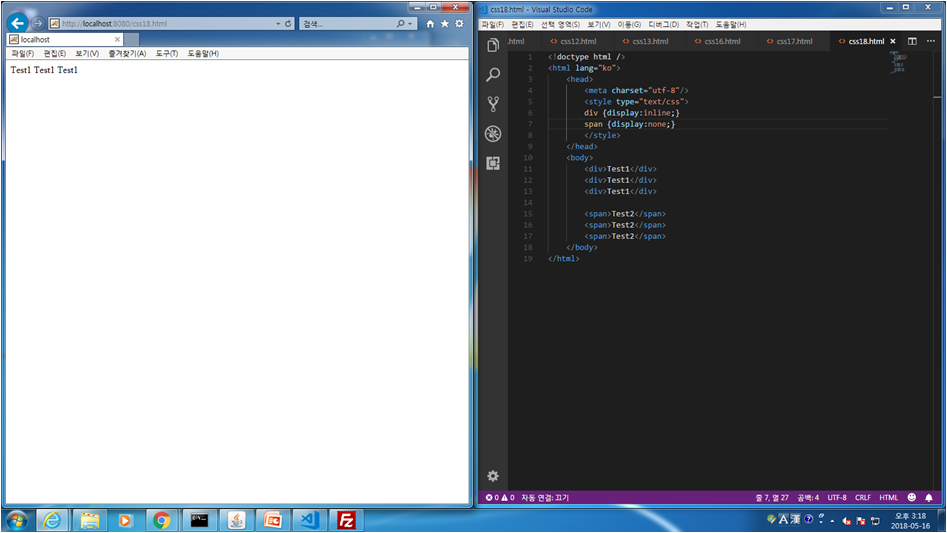
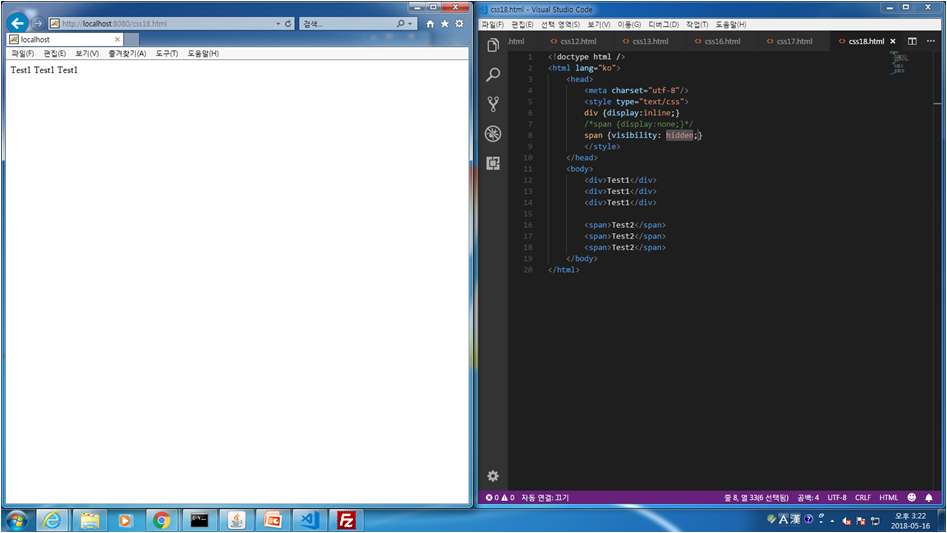
css.18 p, div, span들끼리 문자를 한꺼번에 편집하는 법
<!doctype html />
<html lang="ko">
<head>
<meta charset="utf-8"/>
<style type="text/css">
div {display:inline;}
/*span {display:none;}*/
span {visibility: hidden;}
</style>
</head>
<body>
<div>Test1</div>
<div>Test1</div>
<div>Test1</div>

<span>Test2</span>
<span>Test2</span>
<span>Test2</span>
</body>
</html>
css.19 display와 visibility 방법과 차이
<!doctype html />
<html lang="ko">
<head>
<meta charset="utf-8"/>
<style type="text/css">
div {width:200px; height:50px; border:1px solid red;}

/*#d2 {display:none;}*/
#d2 {visibility: hidden;}
</style>
</head>
<body>
<div>Test1</div>
<div id="d2">Test1</div>
<div>Test1</div>
</body>
</html>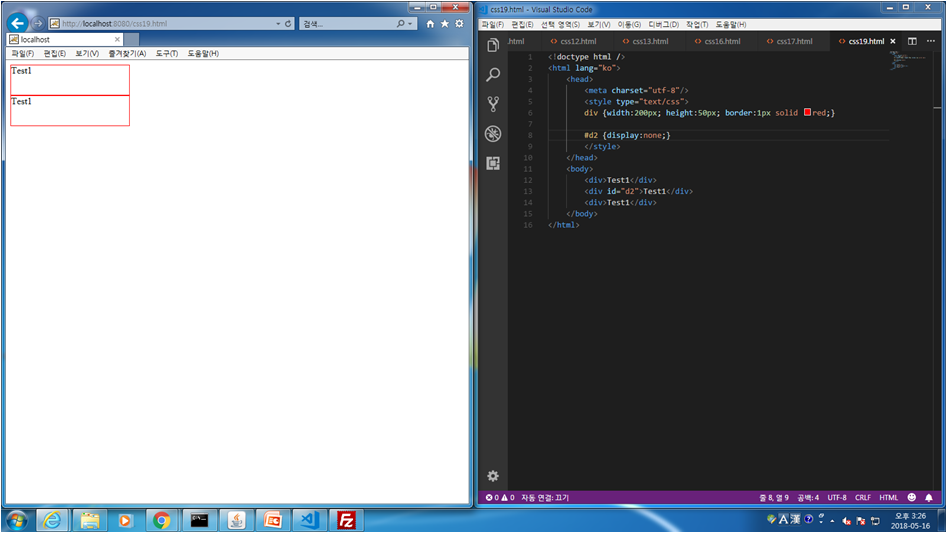
display:none;
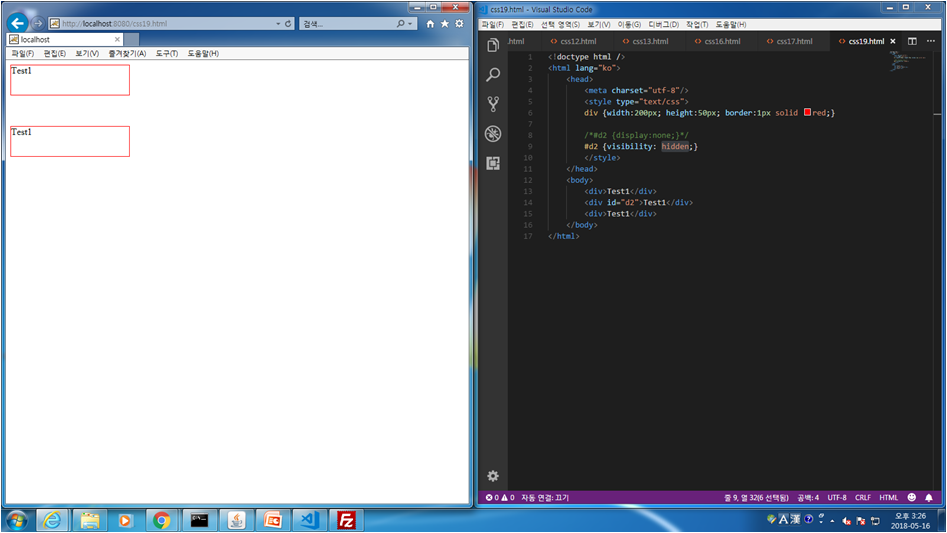
visibility:hidden;
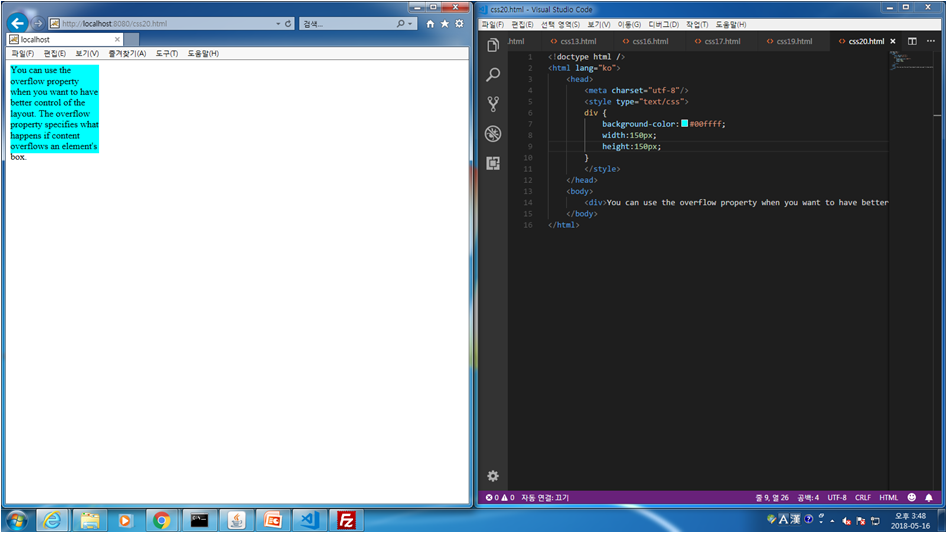
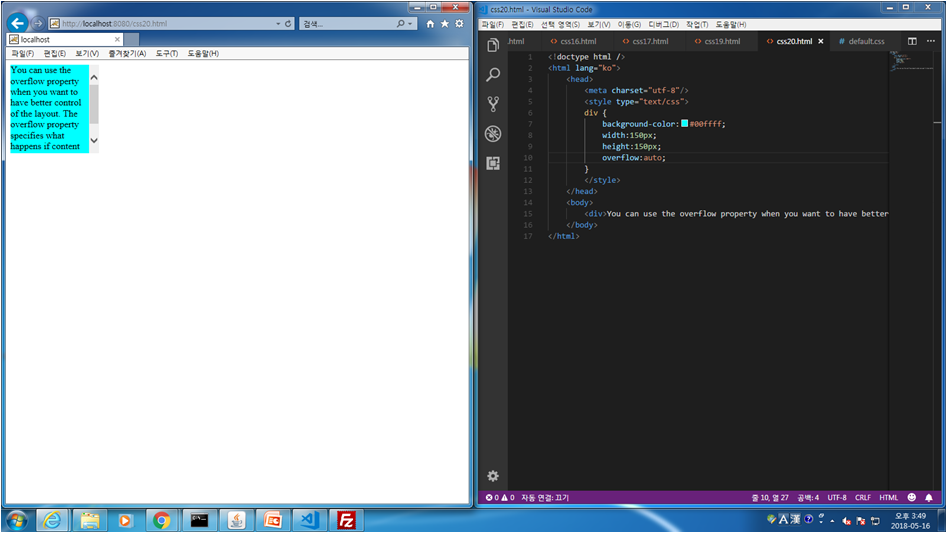
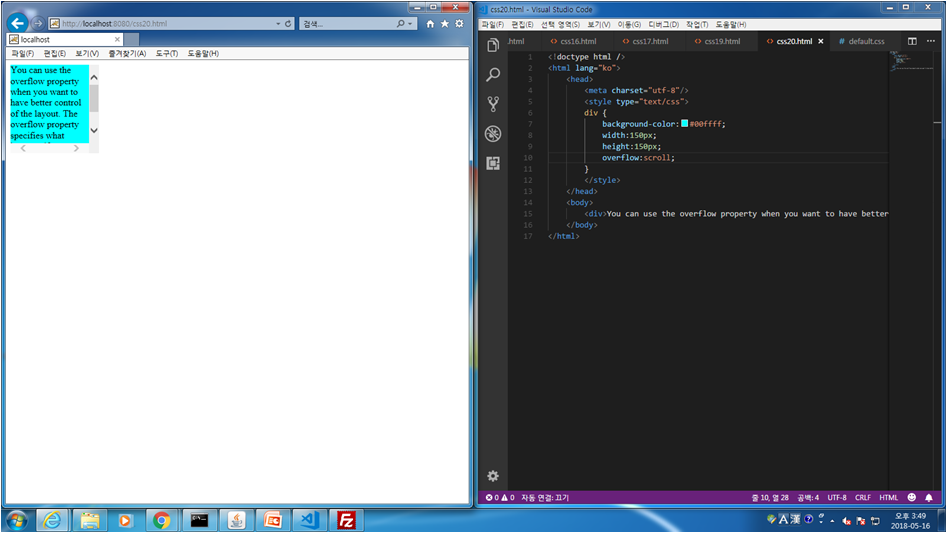
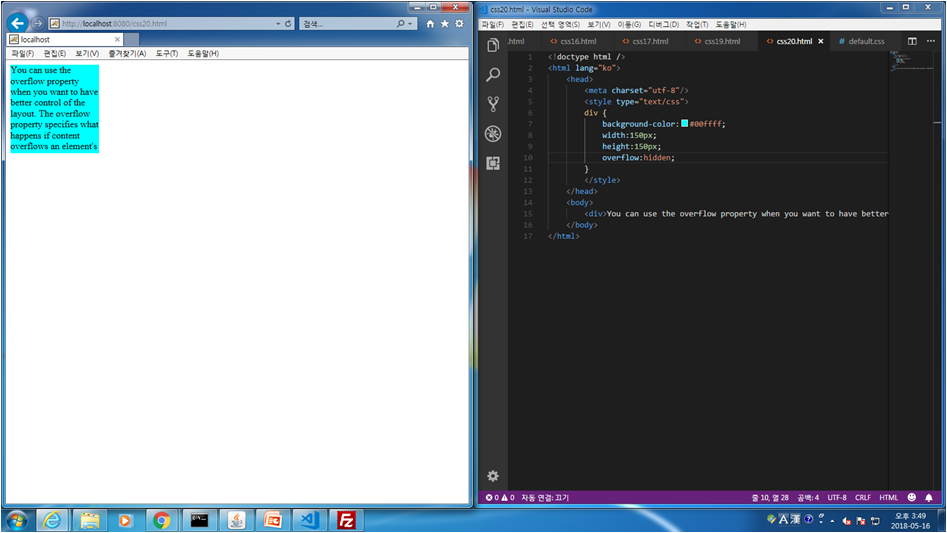
css.20 overflow 사용 법
<!doctype html />
<html lang="ko">
<head>
<meta charset="utf-8"/>
<style type="text/css">
div {
background-color:#00ffff;
width:150px;
height:150px;
overflow:auto;
}
</style>
</head>
<body>
<div>You can use the overflow property when you want to have better control of the layout. The overflow property specifies what happens if content overflows an element's box.</div>
</body>
</html>
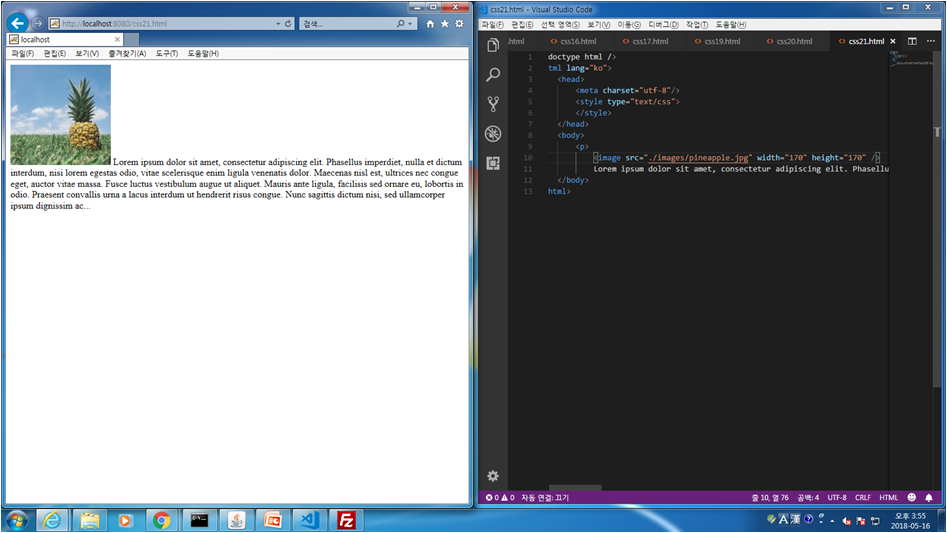
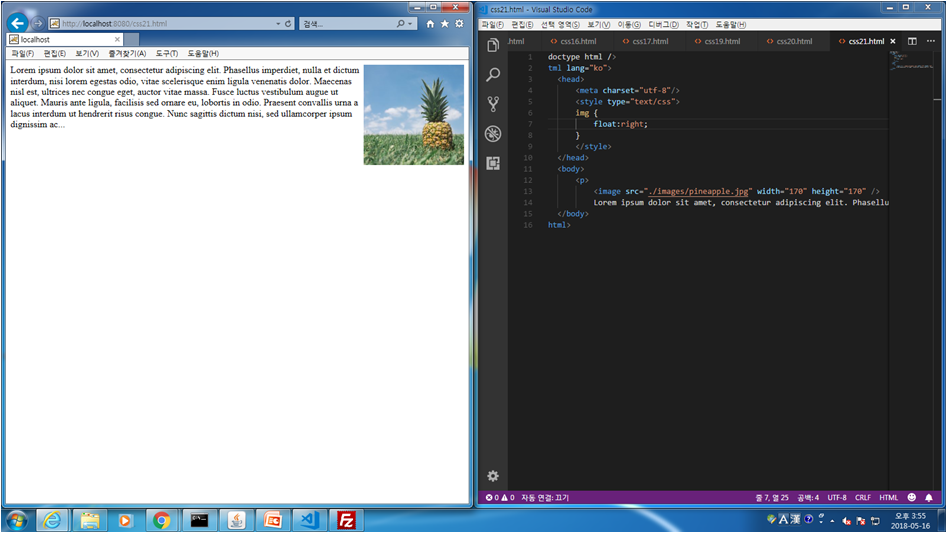
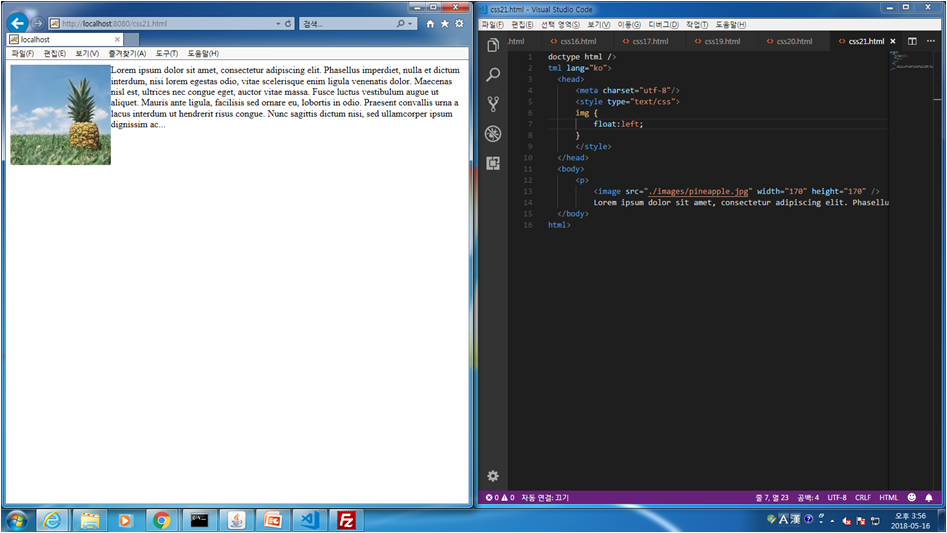
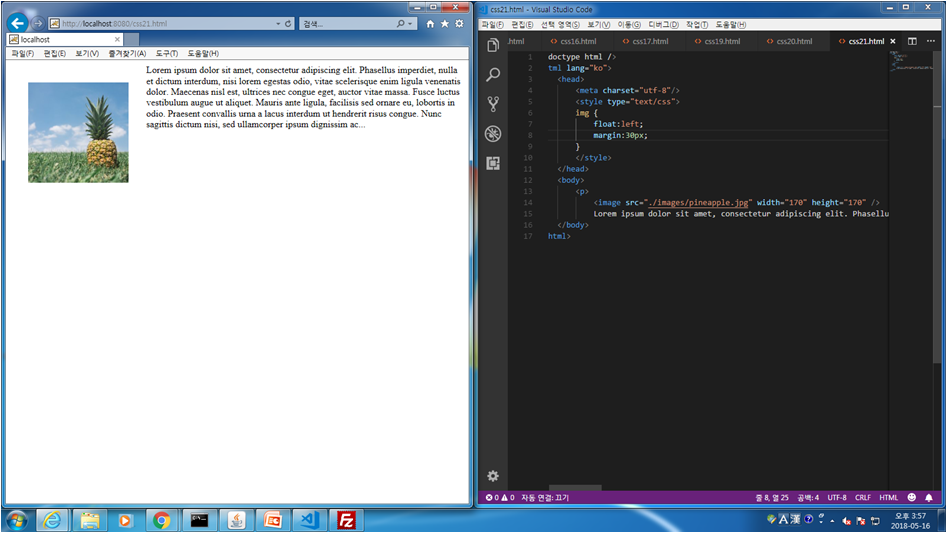
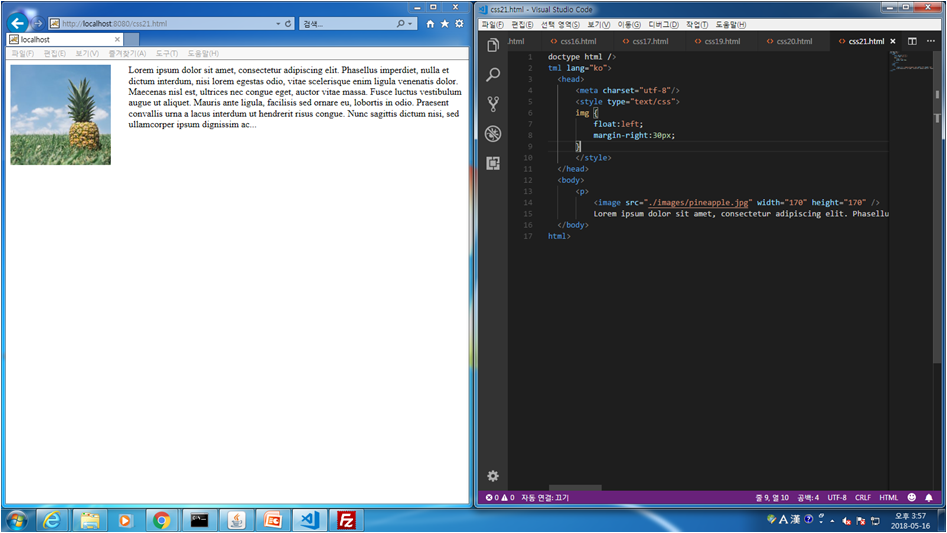
css.21 float 사용 법
<!doctype html />
<html lang="ko">
<head>
<meta charset="utf-8"/>
<style type="text/css">
img {
float:left;
margin-right:30px;
}
</style>
</head>
<body>
<p>
<image src="./images/pineapple.jpg" width="170" height="170" />
Lorem ipsum dolor sit amet, consectetur adipiscing elit. Phasellus imperdiet, nulla et dictum interdum, nisi lorem egestas odio, vitae scelerisque enim ligula venenatis dolor. Maecenas nisl est, ultrices nec congue eget, auctor vitae massa. Fusce luctus vestibulum augue ut aliquet. Mauris ante ligula, facilisis sed ornare eu, lobortis in odio. Praesent convallis urna a lacus interdum ut hendrerit risus congue. Nunc sagittis dictum nisi, sed ullamcorper ipsum dignissim ac...</p>
</body>
</html>
display란 속성을 이용해서 조절해 줄 수 있다.
태그 + 엔터키를 포함하면 블럭레벨태그라고 한다.
<p><div>
태그는 인라인 태그라고 한다.
<a><span>
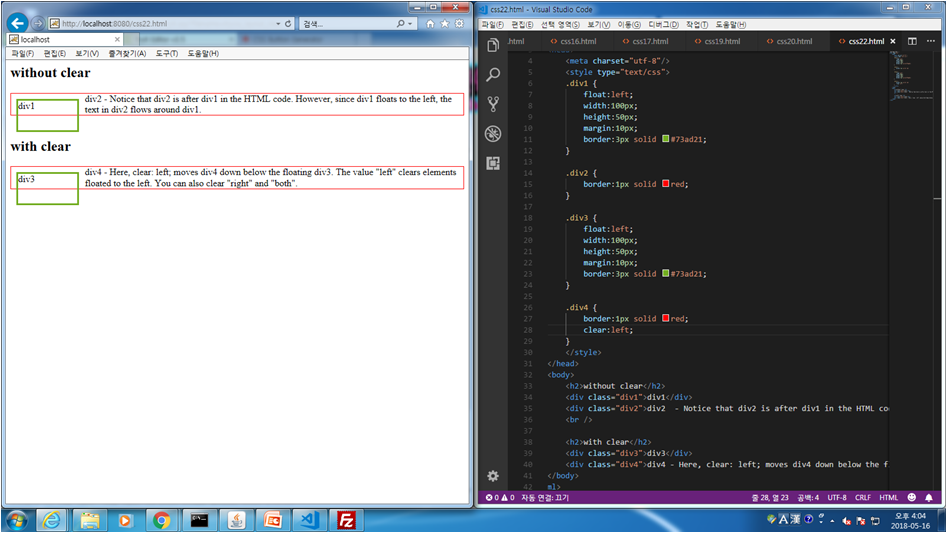
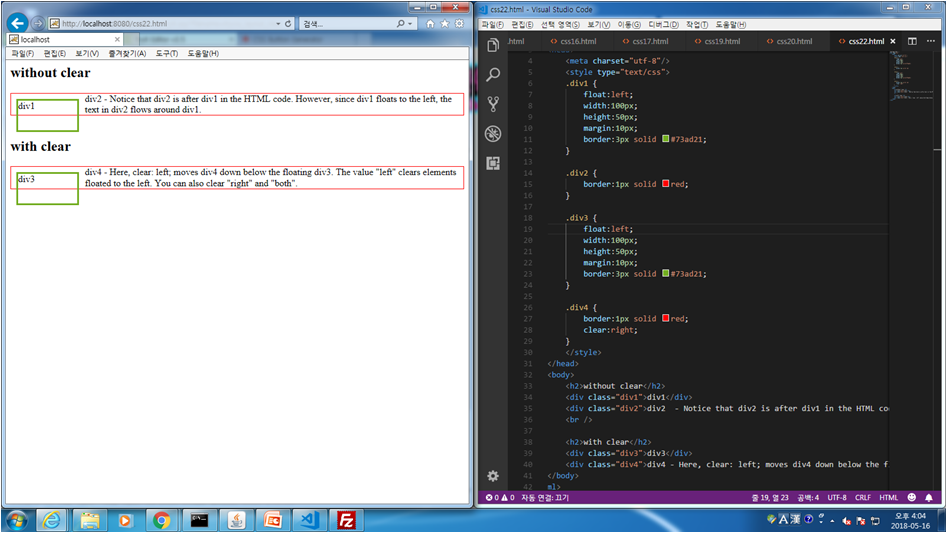
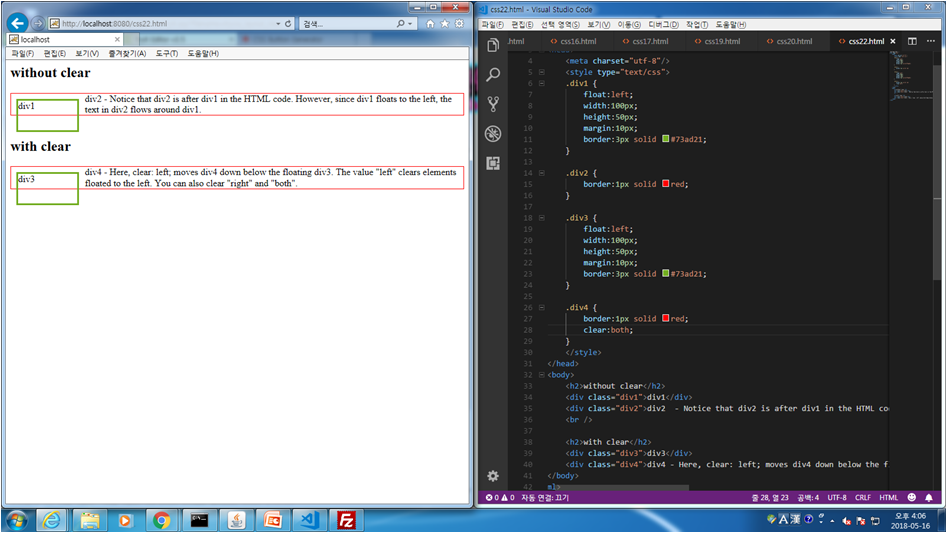
css.22 float 다중사용시 겹치는거 clear를 사용하여 안겹치게 하는 법
<!doctype html />
<html lang="ko">
<head>
<meta charset="utf-8"/>
<style type="text/css">
.div1 {
float:left;
width:100px;
height:50px;
margin:10px;
border:3px solid #73ad21;
}

.div2 {
border:1px solid red;
}

.div3 {
float:left;
width:100px;
height:50px;
margin:10px;
border:3px solid #73ad21;
}

.div4 {
border:1px solid red;
clear:left;
}
</style>
</head>
<body>
<h2>without clear</h2>
<div class="div1">div1</div>
<div class="div2">div2 - Notice that div2 is after div1 in the HTML code. However, since div1 floats to the left, the text in div2 flows around div1.</div>
<br />

<h2>with clear</h2>
<div class="div3">div3</div>
<div class="div4">div4 - Here, clear: left; moves div4 down below the floating div3. The value "left" clears elements floated to the left. You can also clear "right" and "both".</div>
</body>
</html>

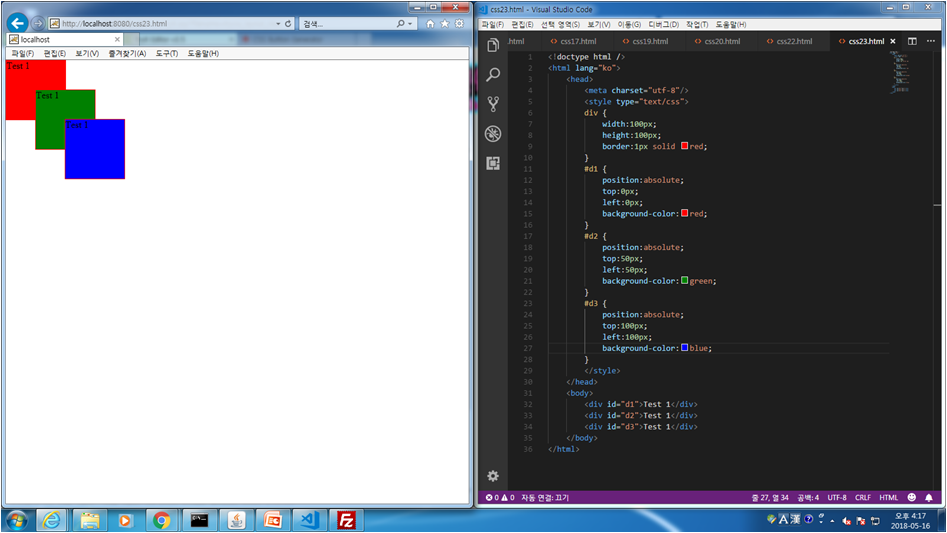
Layer
- 좌표를 중심으로 배치를 할 수 있음
- 중첩도 가능
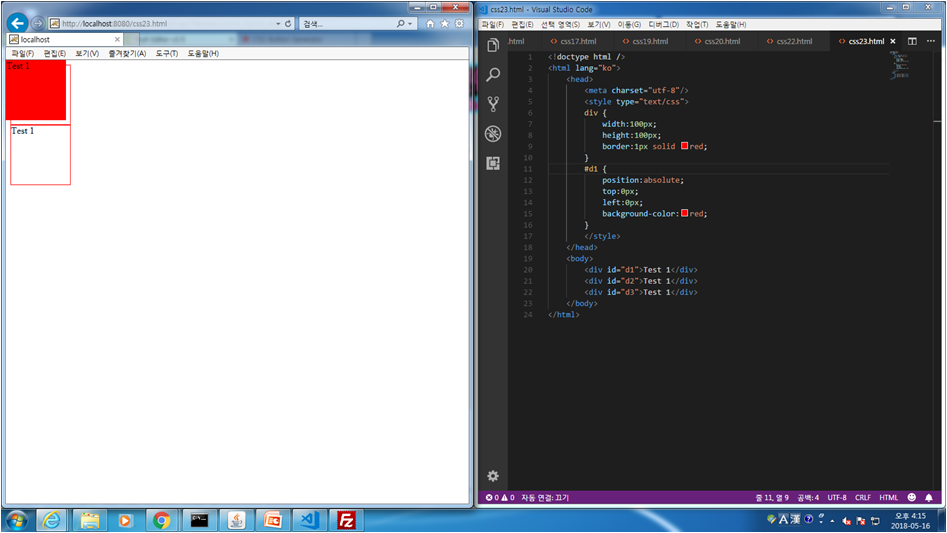
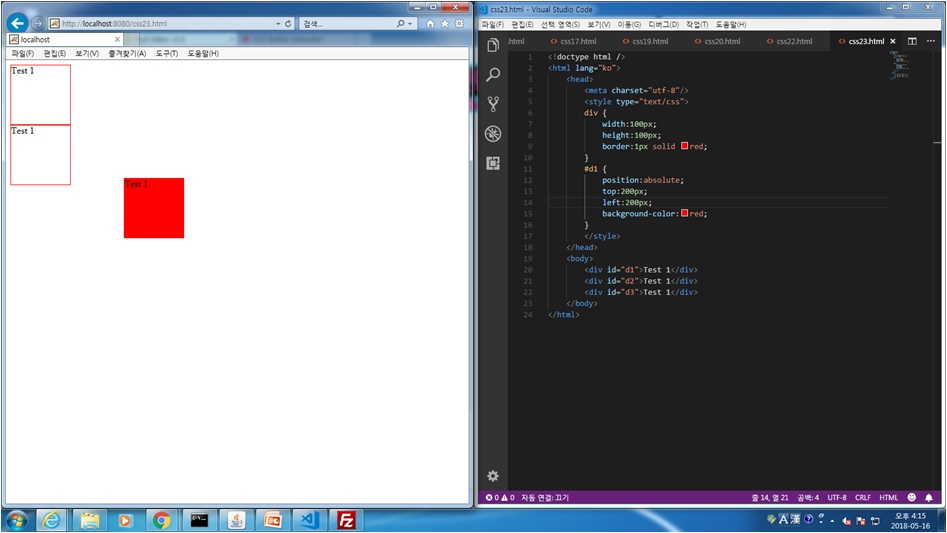
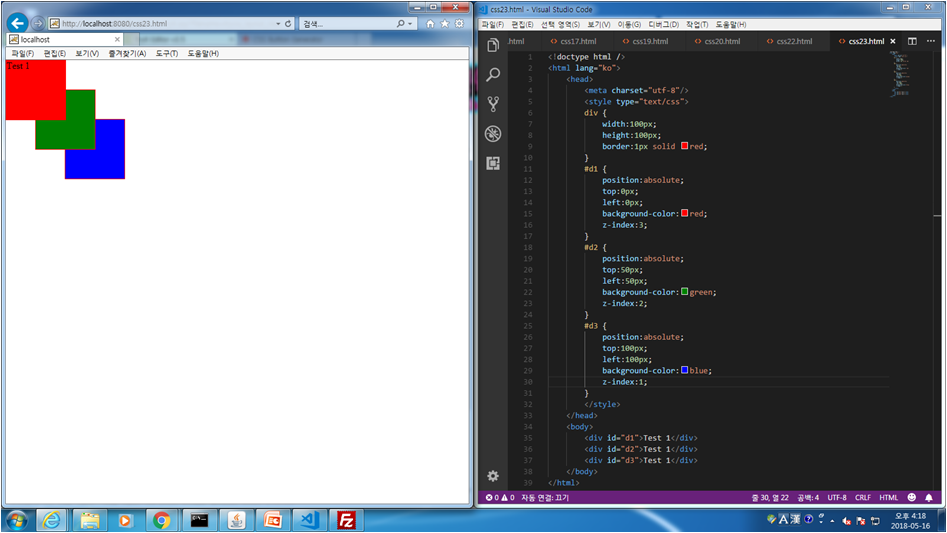
css.23 position:absolute 사용법 및 z-index로 순서 설정 법
<!doctype html />
<html lang="ko">
<head>
<meta charset="utf-8"/>
<style type="text/css">
div {
width:100px;
height:100px;
border:1px solid red;
}
#d1 {
position:absolute;
top:0px;
left:0px;
background-color:red;
z-index:3;
}
#d2 {
position:absolute;
top:50px;
left:50px;
background-color:green;
z-index:2;
}
#d3 {
position:absolute;
top:100px;
left:100px;
background-color:blue;
z-index:1;
}
</style>
</head>
<body>
<div id="d1">Test 1</div>
<div id="d2">Test 1</div>
<div id="d3">Test 1</div>
</body>
</html>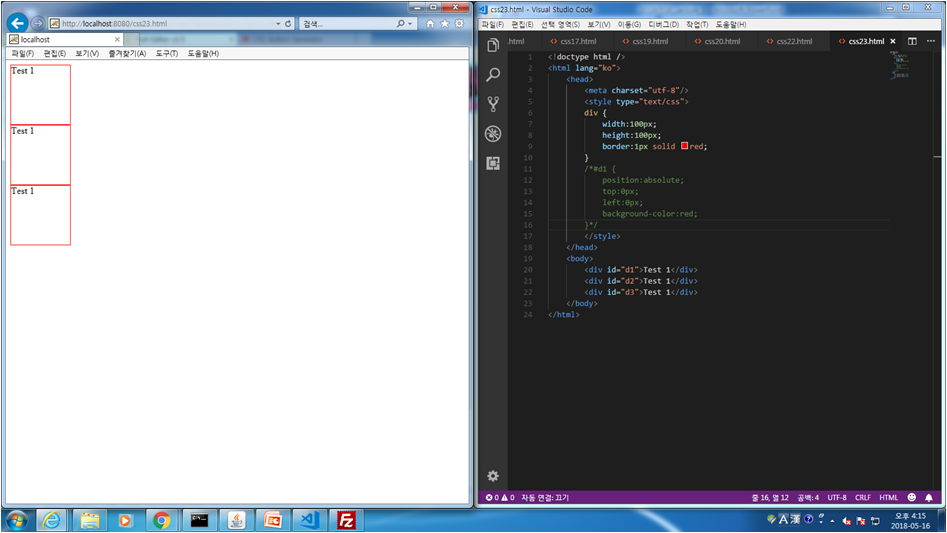
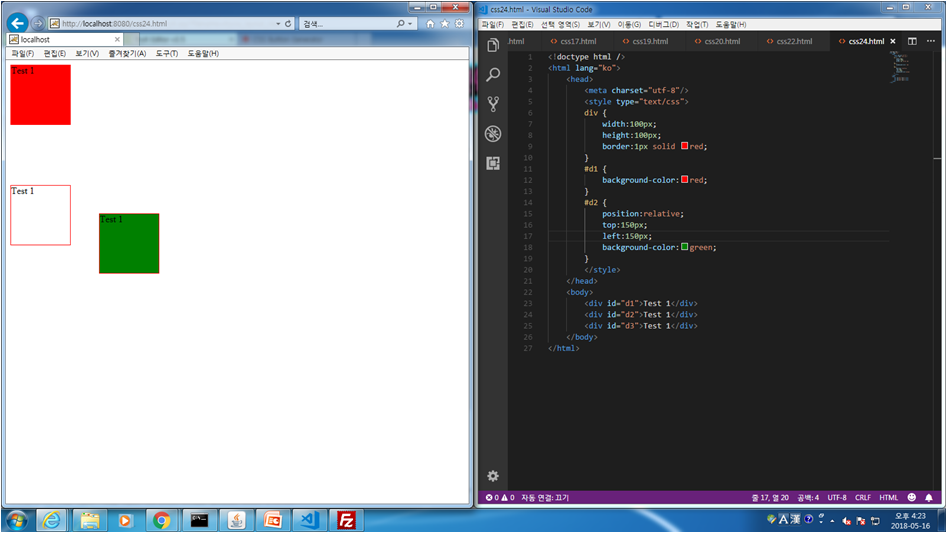
css.24 position:relative를 이용하여 좌표를 설정하여 나타내는법
<!doctype html />
<html lang="ko">
<head>
<meta charset="utf-8"/>
<style type="text/css">
div {
width:100px;
height:100px;
border:1px solid red;
}
#d1 {
background-color:red;
}
#d2 {
position:relative;
top:150px;
left:150px;
background-color:green;
}
</style>
</head>
<body>
<div id="d1">Test 1</div>
<div id="d2">Test 1</div>
<div id="d3">Test 1</div>
</body>
</html>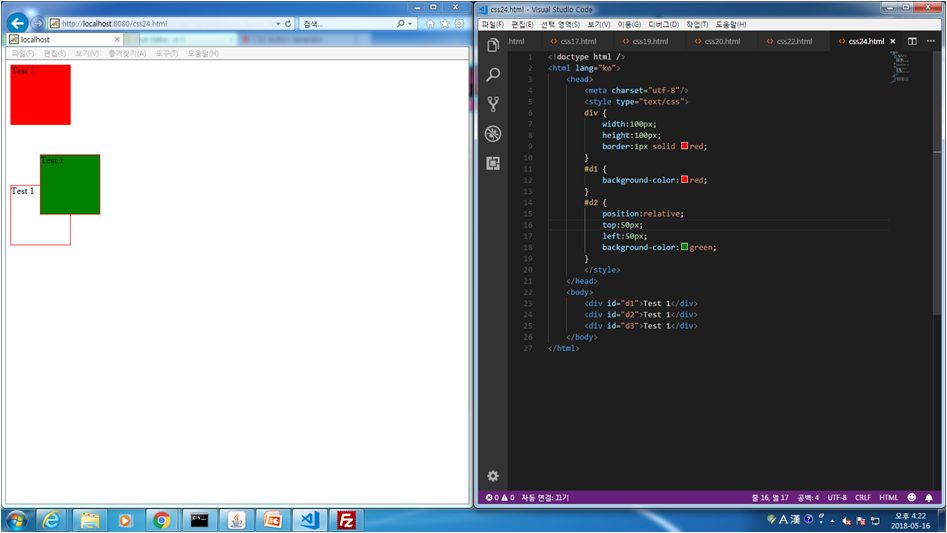
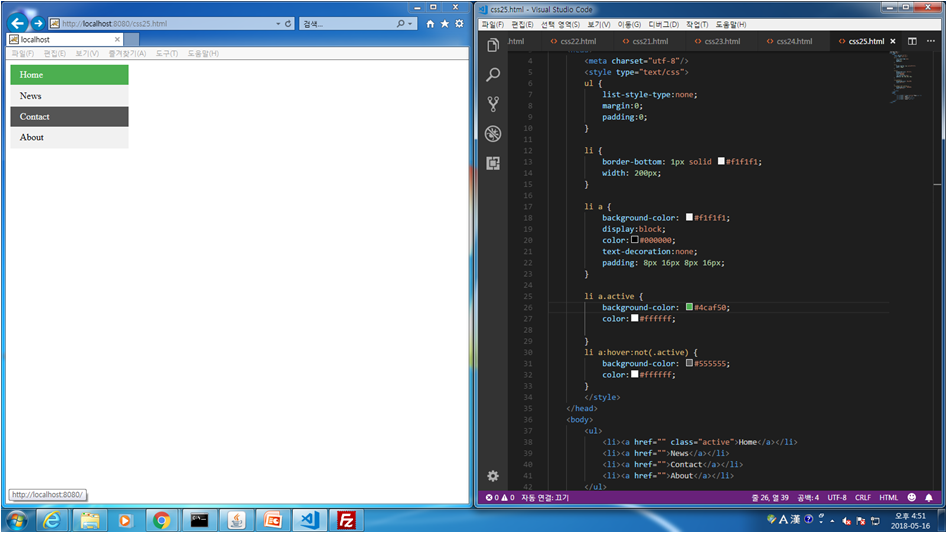
css.25 Vertical Navigation Bar 작성법
<!doctype html />
<html lang="ko">
<head>
<meta charset="utf-8"/>
<style type="text/css">
ul {
list-style-type:none;
margin:0;
padding:0;
}

li {
border-bottom: 1px solid #000000;
width: 200px;
}

li a {
background-color: #f1f1f1;
display:block;
color:#000000;
text-decoration:none;
padding: 8px 16px 8px 16px;
}

li a.active {
background-color: #4caf50;
color:#ffffff;

}
li a:hover:not(.active) {
background-color: #555555;
color:#ffffff;
}
</style>
</head>
<body>
<ul>
<li><a href="" class="active">Home</a></li>
<li><a href="">News</a></li>
<li><a href="">Contact</a></li>
<li><a href="">About</a></li>
</ul>
</body>
</html>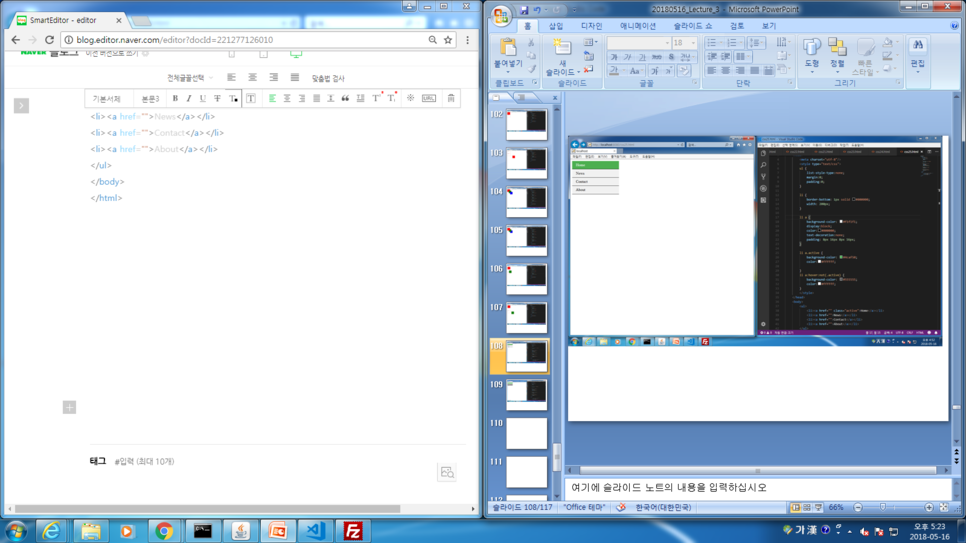
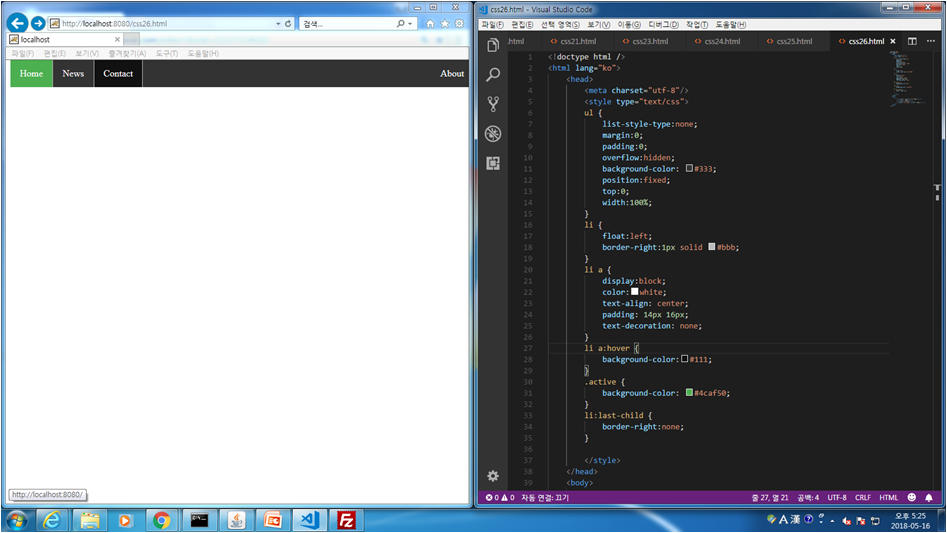
css.26 Horizontal Navagation Bar 작성법
<!doctype html />
<html lang="ko">
<head>
<meta charset="utf-8"/>
<style type="text/css">
ul {
list-style-type:none;
margin:0;
padding:0;
overflow:hidden;
background-color: #333;
position:fixed;
top:0;
width:100%;
}
li {
float:left;
border-right:1px solid #bbb;
}
li a {
display:block;
color:white;
text-align: center;
padding: 14px 16px;
text-decoration: none;
}
li a:hover {
background-color:#111;
}
.active {
background-color: #4caf50;
}
li:last-child {
border-right:none;
}

</style>
</head>
<body>
<ul>
<li><a href="" class="active">Home</a></li>
<li><a href="">News</a></li>
<li><a href="">Contact</a></li>
<li style="float:right"><a href="">About</a></li>
</ul>
</body>
</html>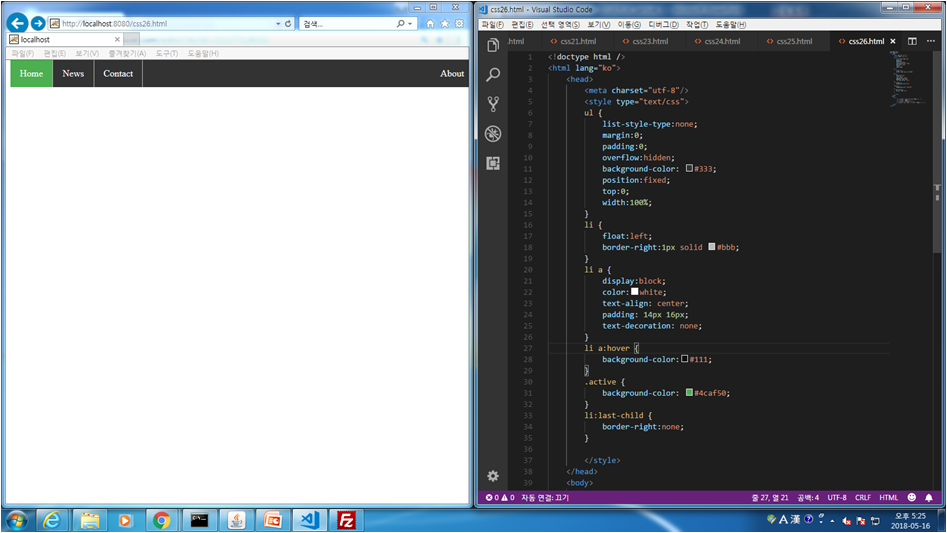
'Web & Mobile > CSS' 카테고리의 다른 글
| Lecture 4 - CSS(2) (0) | 2019.04.12 |
|---|

댓글